What Composting Actually Does
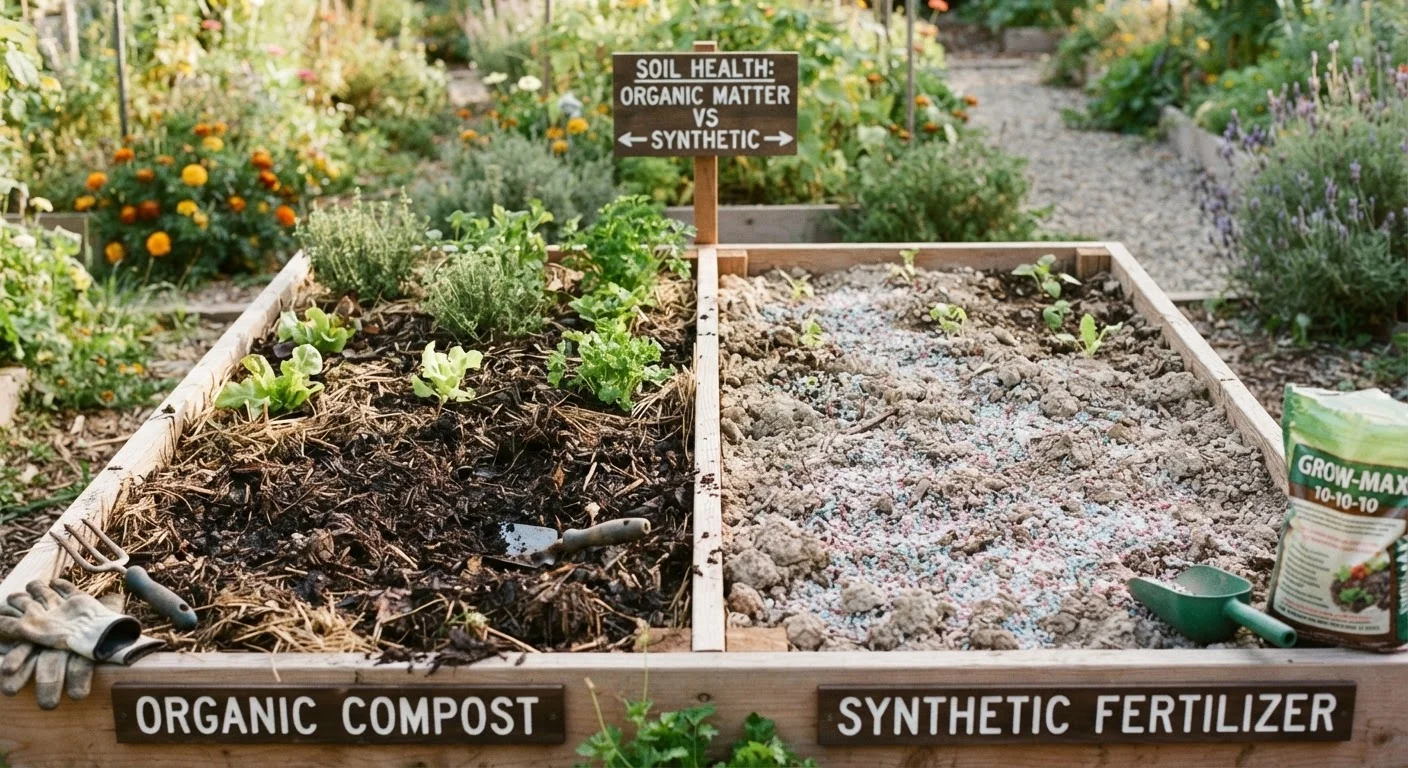
Composting is a managed biological process in which microorganisms - bacteria, fungi, and other decomposers - break down organic matter into a stable, humus-rich material called compost. Unlike synthetic soil amendments, finished compost improves soil structure, feeds beneficial microbial communities, and slowly releases nutrients in a form plants can use. For context on how it compares to purchased products, our article on organic versus synthetic fertilizers explains how each approach affects your soil over time.
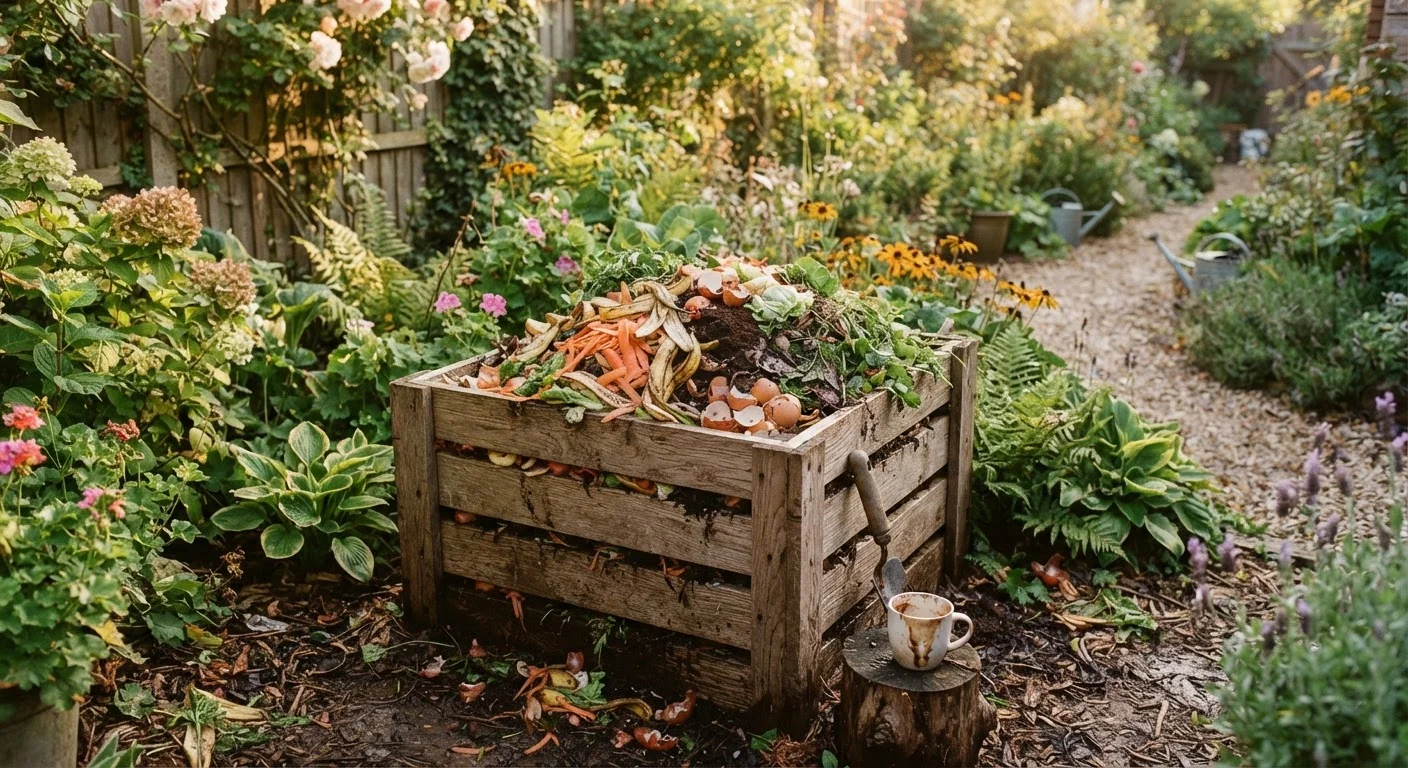
The process happens naturally in forests and fields without any intervention - home composting simply speeds it up and concentrates it in one place. When done well, a backyard pile can convert a meaningful portion of your household's food waste into a resource that reduces the need for bagged amendments, improves water retention in sandy soils, and loosens heavy clay. It's one of the most cost-effective and environmentally sound practices a home gardener can adopt.
Compost bin or wire mesh enclosure
Contains the pile, retains heat, and keeps pests out during decomposition.
Garden fork or compost turner
Used to aerate and turn the pile, introducing oxygen that speeds breakdown.
Kitchen scrap container with lid
Collects food scraps at the counter before transferring them to the outdoor bin.
Thermometer (compost or probe type)
Monitors internal pile temperature to confirm active decomposition is occurring.
Garden hose or watering can
Adds moisture when the pile dries out and becomes too slow to decompose.
What to Compost and What to Keep Out
The most common composting mistake is misidentifying what belongs in the pile. Here is a quick reference:
- Yes - kitchen greens: Fruit and vegetable scraps, coffee grounds and paper filters, loose-leaf tea, crushed eggshells
- Yes - yard materials: Grass clippings, dried leaves, plant trimmings, spent annuals, straw
- Yes - paper browns: Corrugated cardboard (ink is generally fine), newspaper, paper bags, paper egg cartons
- No: Meat, fish, bones, dairy, oily food, pet waste, diseased plants
Never Compost These Materials
Meat, fish, bones, dairy products, and oily or greasy foods attract pests and can introduce pathogens into your pile. Pet feces and diseased plant material should also stay out - they can harbor harmful organisms that survive even active composting temperatures. Stick to plant-based kitchen scraps and untreated yard waste for a safe, functional pile.
Eggshells are often touted as a calcium source for compost, but they break down slowly and their benefit in a typical home pile is modest. They won't harm anything, but don't go out of your way to stockpile them. For a broader look at popular garden tips that don't hold up, see our piece on garden myths that waste your time and money.
Avoid Chemically Treated Yard Waste
Grass clippings or leaves from areas recently treated with persistent herbicides can carry chemical residues into finished compost. This can harm garden plants when the compost is applied. When in doubt, set treated clippings aside and let them decompose separately for a full season before using.
Step-by-Step: Building and Running Your Compost System
Follow these steps to set up a working compost system from scratch. The process is forgiving - minor imbalances are easy to correct once you know what to look for.
What you will need
Choose and set up your compost bin
Select a location that gets partial sun - enough warmth to support microbial activity, but not so hot that the pile dries out rapidly. A level, well-drained spot near your garden is ideal. You can use a purchased plastic bin with vented sides, a simple DIY three-sided enclosure made from wooden pallets, or a cylinder of hardware cloth at least 36 inches in diameter. Place the bin directly on bare soil so earthworms and beneficial organisms can migrate in from below.
Understand the green-brown balance
Greens are nitrogen-rich materials: vegetable and fruit scraps, coffee grounds, fresh grass clippings, and plant trimmings. Browns are carbon-rich materials: dried leaves, cardboard torn into small pieces, paper egg cartons, straw, and wood chips. A rough ratio of roughly one part greens to two or three parts browns by volume gives microbes both the nitrogen fuel and the carbon structure they need. An imbalanced pile - too many greens - turns slimy and smells; too many browns and it barely moves.
Start layering your materials
Begin with a 4-6 inch base layer of coarse browns such as wood chips or shredded cardboard to encourage airflow from the bottom. Add a 2-3 inch layer of greens, then cover with another layer of browns. Continue alternating as you add new material over the coming weeks. Each time you bring out kitchen scraps, bury them in the center of the pile and cover with a layer of browns to suppress odors and deter flies.
Manage moisture and aeration
Squeeze a handful of compost material - it should feel like a wrung-out sponge, damp but not dripping. If it's dry and dusty, add water with a garden hose or watering can and mix it in. If it's soggy, add dry browns and turn the pile. Aerate the pile by turning it with a garden fork every one to two weeks. This introduces oxygen, which is essential for the aerobic bacteria that do most of the decomposition work and prevents the anaerobic conditions that cause foul smells.
Monitor progress and troubleshoot
An active pile should feel warm in the center - internal temperatures can reach 130-160°F during peak activity, which also kills most weed seeds and pathogens. If the pile is cool and not shrinking, check moisture levels, add more greens, and turn it to reintroduce air. Common problems and quick fixes:
- Slimy texture, bad odor: Too many greens or too wet - add browns and turn
- No activity, dry pile: Too dry or too many browns - add water and greens
- Pest activity: Food scraps exposed at surface - always bury scraps and cover with browns
Harvest and use finished compost
Compost is ready when the original materials are no longer recognizable, the texture is uniformly dark and crumbly, and the smell resembles fresh forest soil. This typically takes two to six months depending on pile management and season. To harvest, stop adding new material to your primary bin and let it finish, or use a two-bin system - one actively receiving material, one curing. Screen finished compost through a half-inch mesh to remove any unfinished chunks (return those to the active pile). Apply two to three inches as a top dressing around garden beds, or work it into soil before planting.
Speed Up Decomposition Naturally
Chop or shred materials before adding them - smaller pieces expose more surface area to microbes and can cut decomposition time significantly. Layering greens and browns in alternating thin layers, rather than dumping large batches of one type, also keeps the microbial community active and balanced.
Once you have a steady supply of finished compost, the applications are wide. Work it into vegetable garden beds before planting for a season-long nutrition boost - our guide to keeping a vegetable garden productive all summer covers how soil quality plays into sustained yields. You can also top-dress lawn areas in spring or fall; for a full picture of lawn soil needs, see The Complete Guide to Starting and Sustaining a Home Lawn.