Why One Repair Method Doesn't Fit All Damage
Drywall damage comes in many forms - a hairline crack above a doorframe, a screw that has popped through the paint, a soft spot left by a slow roof leak, or a fist-sized hole from a doorknob impact. Each of these requires a different approach. Using the wrong technique wastes time, produces a visible patch, and in some cases can leave an underlying problem unaddressed.
Before picking up a putty knife, identify what you're dealing with. The four most common categories - nail pops, stress cracks, water damage, and structural holes - each have distinct causes, and the fix follows from the cause.
| Most common drywall damage type | Nail pops and stress cracks (Consistent with standard home inspection findings) |
| Minimum drying time before repainting | 24 hours per compound coat (Varies by humidity; always verify product label) |
| Hole size limit for DIY patch methods | Up to 12 inches with backer board method (General trade guideline) |
| Water damage: drying time before repair | 48-72 hours minimum with airflow (General building-science recommendation) |
| Coats of compound typically required | 2-3 thin coats per repair (Standard drywall finishing practice) |
Nail Pops and Fastener Issues
What it looks like: A round bump or dimple in the wall, often with paint cracking around a small circle. Sometimes the screw or nail head is partially visible.
Why it happens: Framing lumber dries and shrinks after construction, pushing fasteners outward over time. It is extremely common in homes less than five years old but can appear anytime.
The fix: Drive a new drywall screw about two inches above and below the popped fastener, sinking it just below the surface. Then drive the original fastener deeper - do not remove it. Apply two or three thin coats of lightweight joint compound over each dimple, feathering each coat wider than the last. Sand smooth when fully dry and repaint.
When to call a pro: If nail pops are appearing in clusters across many walls, the framing or fastening pattern may need professional evaluation.
Stress Cracks and Settlement Cracks
What it looks like: Hairline or wider cracks running diagonally from door and window corners, or horizontal cracks along seams between drywall panels.
Why it happens: Normal seasonal movement and gradual foundation settlement cause the framing to shift slightly, stressing the gypsum panels at their weakest points - corners of openings and factory seams.
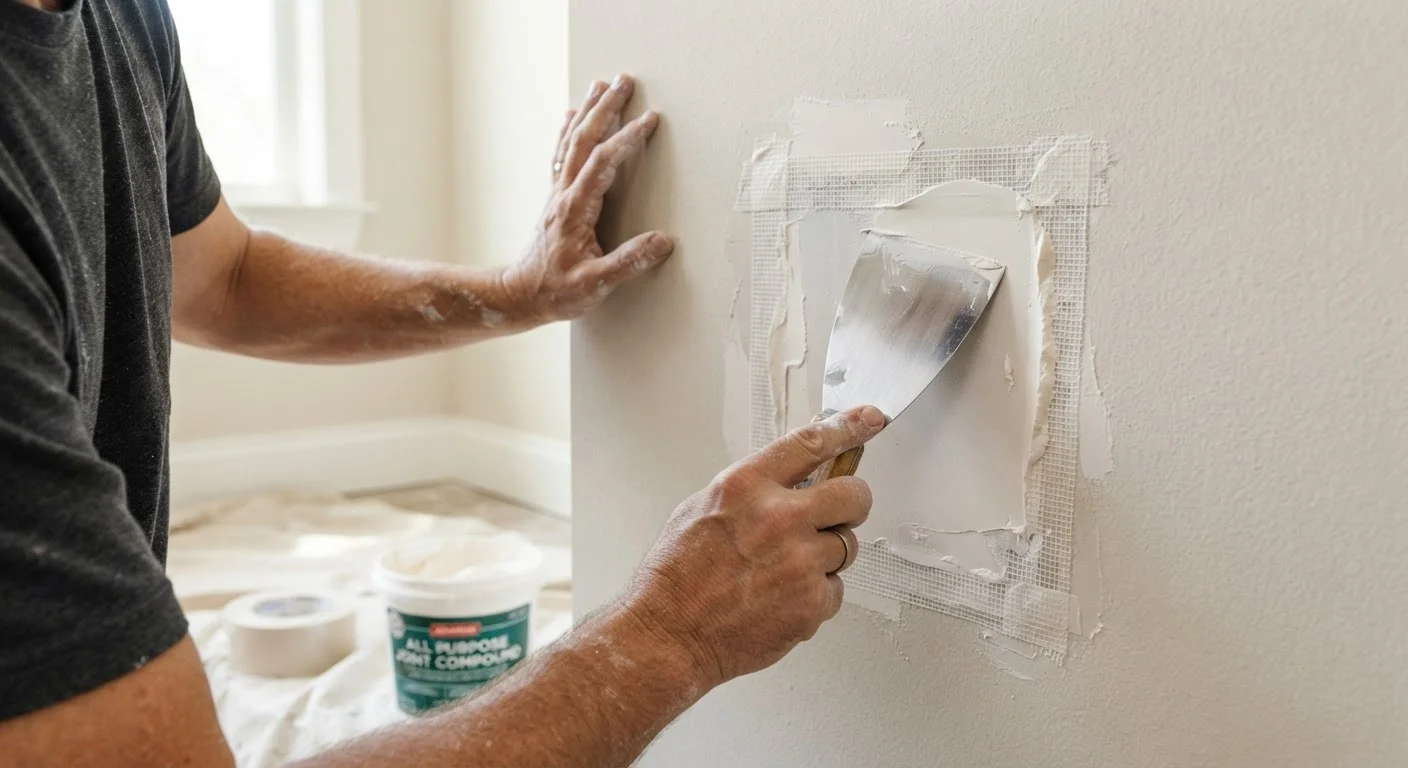
The fix: Widen the crack slightly with a utility knife (this gives compound something to grip), brush out dust, then fill with setting-type compound for deeper cracks or all-purpose compound for hairline cracks. For cracks wider than 1/8 inch, embed paper drywall tape before applying compound. Apply in thin coats, feathering at least six inches beyond each side of the crack. Sand and paint after full cure.
Important distinction: Stair-step cracks in a brick or block foundation, or large diagonal cracks accompanied by sticking doors, may signal structural movement beyond cosmetic repair. A structural engineer's assessment is warranted in those situations.
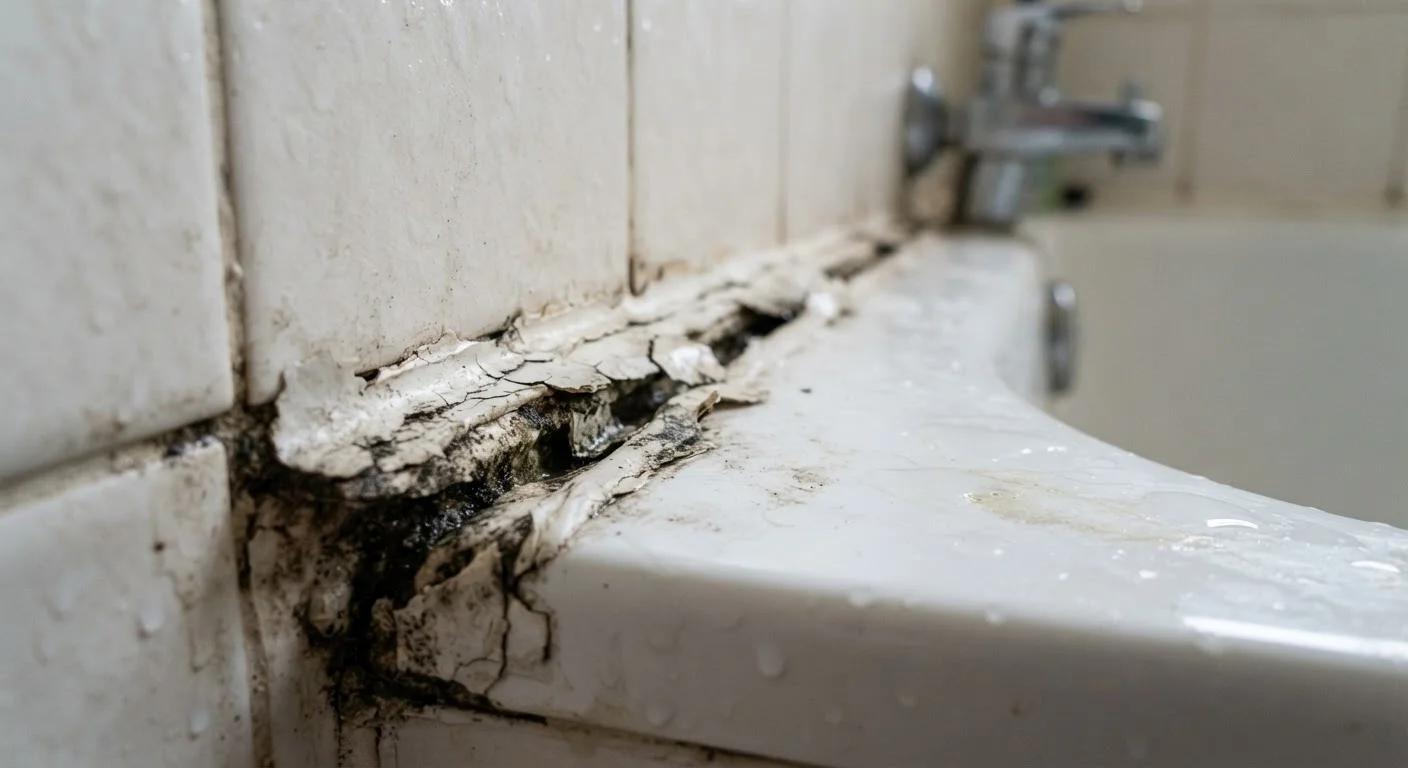
Similar surface-adhesion failures occur with caulk joints - see why caulk fails and how to fix it for related guidance on sealing gaps around trim and transitions.
When Cracks Signal More Than Surface Movement
Diagonal cracks at door and window corners are usually cosmetic and caused by normal seasonal movement. However, cracks that reopen shortly after repair, grow in width over time, or are accompanied by sloping floors or sticking doors may indicate foundation or structural issues. In those cases, consult a licensed structural engineer before attempting any surface repair - patching over an active structural problem will not resolve it.
Water-Damaged Drywall
What it looks like: Brown or yellowish staining, soft or spongy drywall, bubbling paint, sagging tape, or visible mold growth.
Why it matters: Water damage is the one category where patching the surface without fixing the source guarantees failure. The source - a roof leak, plumbing drip, or condensation problem - must be repaired and the area must dry completely (typically 48-72 hours minimum with airflow) before any repair work begins.
The fix: If the drywall is merely stained but still structurally sound, prime with a stain-blocking shellac-based or oil-based primer before applying compound or paint. If the panel is soft, crumbling, or shows active mold growth, cut it out completely and replace with new drywall of the same thickness. Do not simply skim-coat over compromised gypsum.
Mold caution: Small mold spots (less than 10 square feet) can often be addressed by a prepared homeowner following EPA guidance, but larger infestations or mold inside wall cavities should be assessed by a licensed remediation professional.
Large Holes: California Patch vs. Backer Board
What it looks like: Any hole roughly the size of a fist or larger - doorknob impacts, access panel cutouts, and plumbing or electrical repairs are common sources.
Two reliable methods exist for holes in the 4-to-12-inch range:
- California patch (self-backing patch): Cut a piece of drywall larger than the hole, score and snap the back gypsum layer to the hole size, leaving a perimeter of intact paper facing. The paper wings are glued and mudded directly to the surrounding wall, creating a built-in backing. Best for holes up to about six inches.
- Backer board method: Cut the hole to a clean rectangle. Attach wood backing boards (1×3 or 1×4) inside the wall behind each vertical edge using drywall screws. Cut a new drywall patch to fit the rectangle, screw it to the backers, tape all seams with paper tape, and apply three feathered coats of compound.
For holes larger than 12 inches, or holes in ceilings, working with a licensed drywall contractor is often the more practical and safer choice, especially when structural framing may be involved.
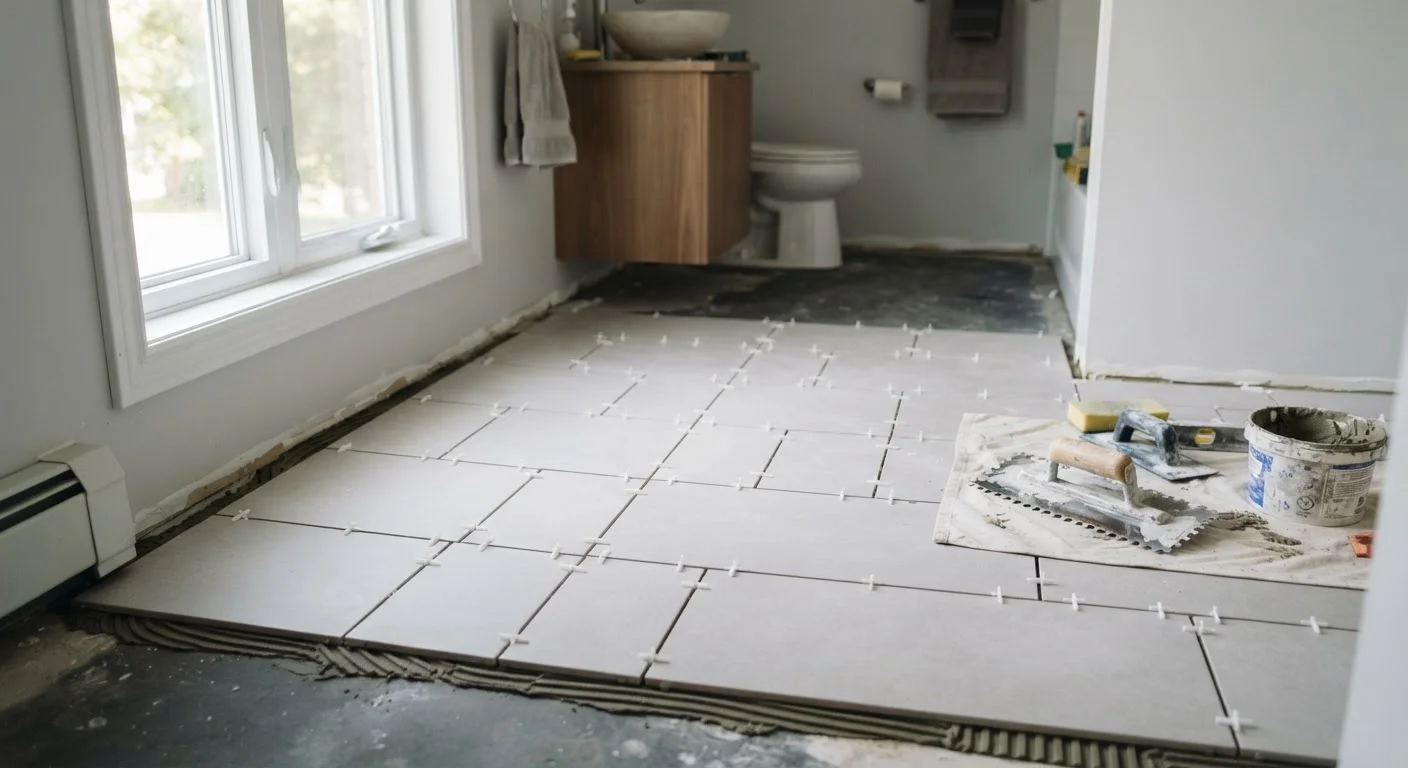
Finishing drywall shares key principles with other surface-prep trades - proper surface preparation before tile work follows a similar logic of building a sound substrate before any decorative finish.
Joint compound
A premixed or powder-based gypsum product used to fill, tape, and finish drywall seams and repairs. Often called 'mud' by tradespeople. Available in all-purpose, lightweight, and setting-type formulations.
Setting-type compound
A fast-hardening compound that cures through a chemical reaction rather than drying. It is more durable and shrinks less than air-dry compound, making it preferable for deep fills and structural repairs.
Feathering
The technique of gradually thinning the edges of a compound coat outward so the patch blends invisibly into the surrounding wall surface.
Paper drywall tape
A thin paper strip embedded in joint compound to reinforce seams and cracks. It resists cracking over time better than mesh tape when used with standard compound.
Stain-blocking primer
A shellac-based or oil-based primer designed to seal water stains and prevent them from bleeding through paint. Required before repainting any previously water-damaged drywall.
Backer board
A wood strip or board fastened inside a wall cavity behind a hole, providing a surface to which a replacement drywall patch can be screwed securely.