What "Full Remodel" Actually Means
A full bathroom remodel means replacing or relocating most of the room's core systems and surfaces - plumbing fixtures, electrical outlets and lighting, tile, flooring, cabinetry, and ventilation. It's categorically different from a cosmetic refresh, which might involve repainting, swapping a faucet, or updating hardware.
Understanding this distinction matters because a full remodel involves multiple licensed trades working in sequence. A plumber must rough in before tile goes down. An electrician must run wiring before drywall closes. Each phase gates the next, which is why timeline slippage compounds quickly. For a broader sense of how renovation complexity affects pricing, see our guide on what drives renovation costs.
Lock In Materials Before Demo Day
Order every material - tile, vanity, fixtures, lighting - and confirm delivery dates before scheduling demolition. A delayed vanity or back-ordered tile can halt a project for weeks. Most experienced contractors won't begin demo until all long-lead items are on-site or have a confirmed ship date.
Phase 1: Planning, Permits, and Design
This phase takes longer than most homeowners expect - typically 2-6 weeks - and it happens before a single tool touches the room.
- Establish scope: Decide whether fixtures are staying in place or moving. Relocating a toilet or shower requires rerouting drain lines, which significantly increases cost and time.
- Hire your contractor: Get at least three written estimates. Ask each bidder to itemize labor and materials separately so comparisons are meaningful.
- Pull permits: In most U.S. jurisdictions, plumbing, electrical, and structural work requires permits and inspections. Your contractor typically handles this, but confirm it in writing. Unpermitted work can complicate a future home sale.
- Select all materials in advance: Tile, vanity, mirror, light fixtures, faucets, and accessories should be ordered before demolition begins. Back-ordered items are the leading cause of mid-project stalls.
If you're weighing which tasks to handle yourself versus hiring out, our DIY vs. hiring framework can help you make that call honestly.
Phase 2: Demolition and Rough-In Work
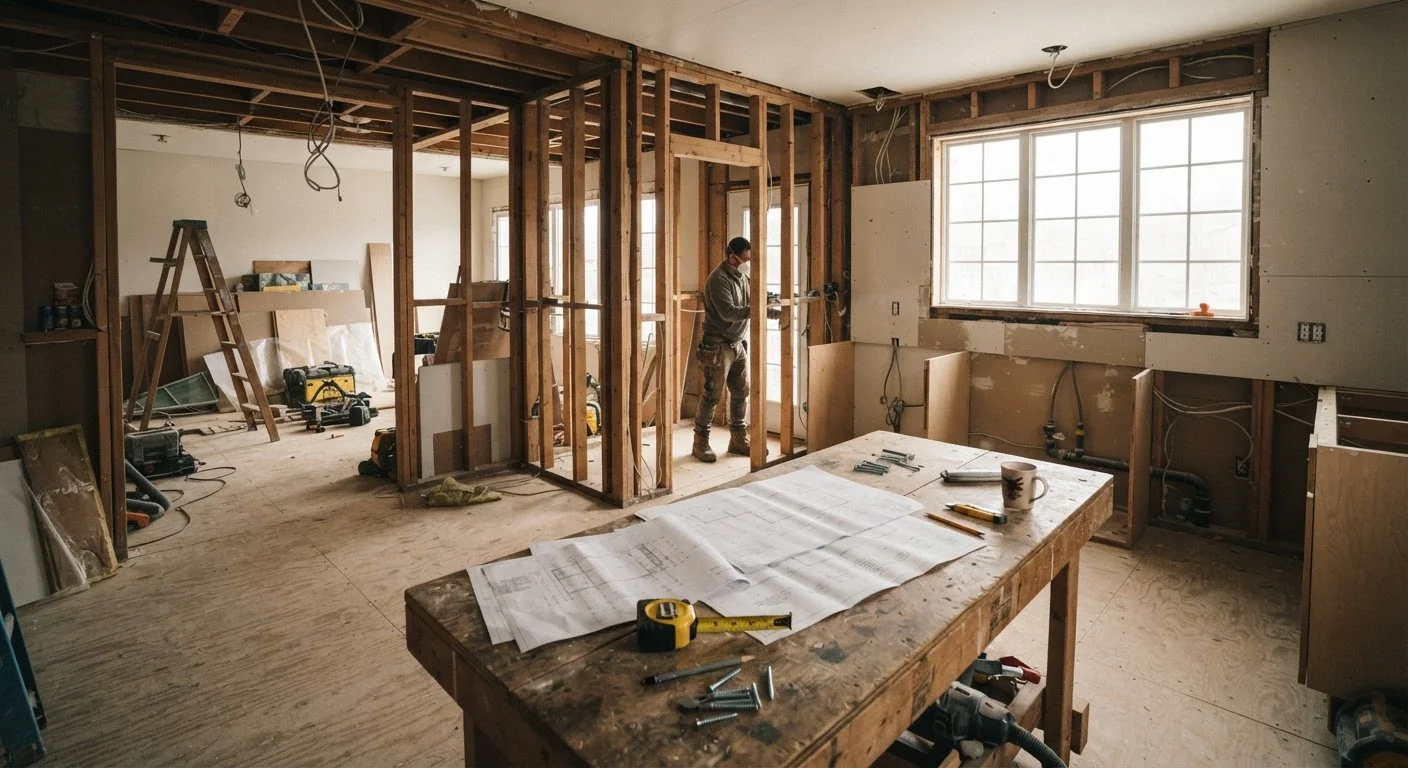
Demolition is usually the fastest phase - often completed in one to two days - but what's revealed behind walls determines everything that follows.
Licensed Trades Are Required - Not Optional
Plumbing and electrical rough-in work must be performed by licensed professionals in most U.S. jurisdictions, and must pass inspection before walls are closed. Attempting this work without a license or permit can result in failed inspections, fines, and difficulty selling your home. Always verify your contractor's licensing and confirm permit status in writing before work begins.
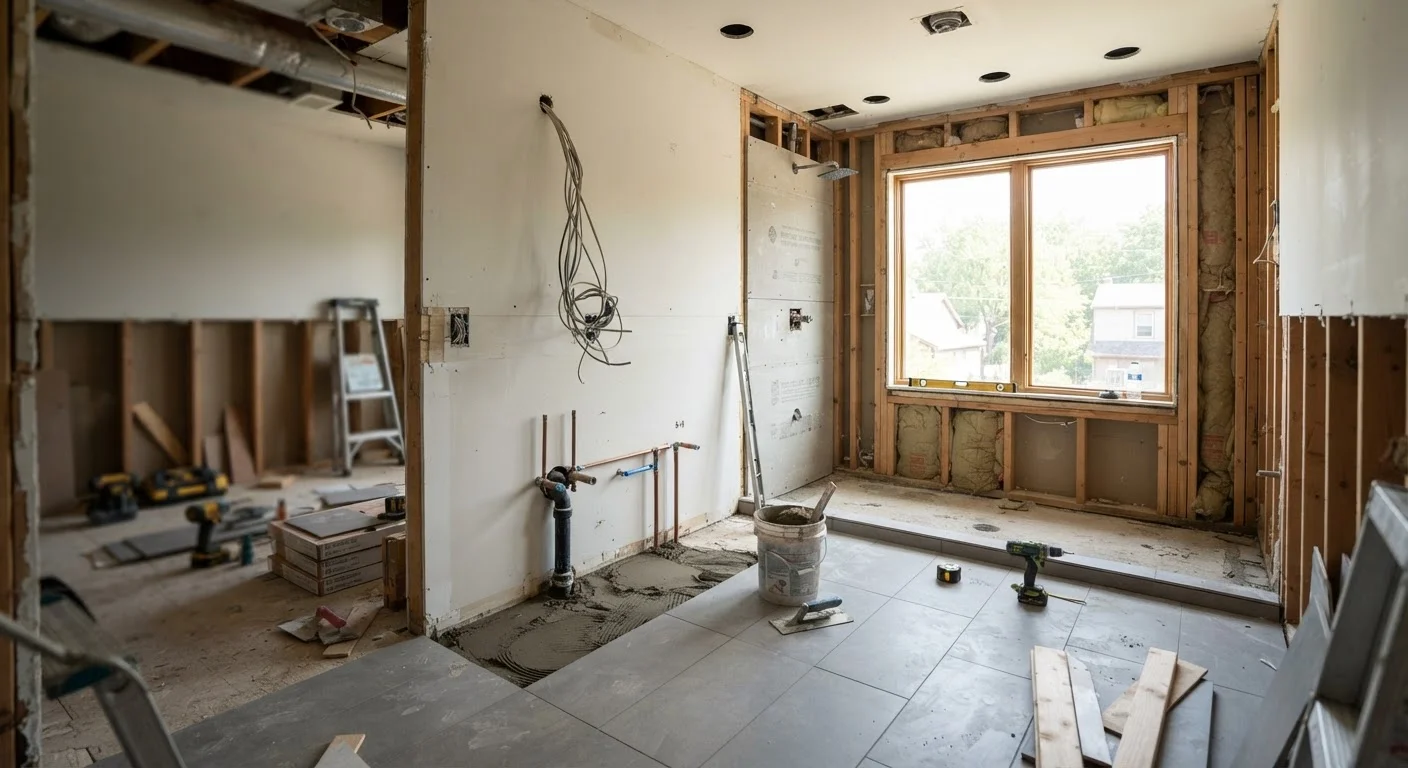
After demo, licensed tradespeople complete rough-in work: the plumber sets new drain and supply lines, the electrician runs circuits and installs junction boxes, and an HVAC technician may update the exhaust fan if code requires it. This work must be inspected and approved before walls close.
Common discoveries that extend this phase:
- Mold or water damage in wall cavities behind the shower
- Galvanized or lead supply pipes requiring full replacement
- Subfloor rot, especially around toilet flanges
- Wiring that doesn't meet current code (e.g., no GFCI protection near water sources)
Budget a contingency - commonly suggested at 10-20% of the project total - to absorb these findings without derailing the project.
Phase 3: Waterproofing, Tile, and Fixtures
This is the longest active construction phase, typically running 1-3 weeks depending on tile complexity and bathroom size.
Waterproofing First
Before any tile is set in the shower or tub surround, a waterproof membrane must be applied and cured. This step is non-negotiable - skipping or rushing it is the most common cause of long-term water damage behind shower walls.
Apply waterproof membrane not just to the shower pan but also up the walls to at least 6 inches above the shower threshold - this is where most membrane failures begin.
Water migrates laterally at transitions. Extending the membrane beyond the minimum protects the framing and subfloor from the slow leaks that cause the most expensive damage.
Request a written schedule from your contractor showing each trade's start date, so you can identify and flag gaps before they happen rather than after.
Trade sequencing is the most common source of delays on bathroom projects. A written schedule creates shared accountability and makes rescheduling conversations concrete rather than vague.
Tile Setting and Grouting
Large-format tiles, intricate patterns, or heated floor systems add time. Allow at least 24 hours between setting tile and grouting, and another 24-72 hours before exposing grout to water, depending on the product used.
Vanity and Fixture Installation
Once tile is complete and cured, the plumber returns to set the toilet, connect supply lines, and install the shower valve and tub spout. The electrician installs light fixtures and outlets. Vanity installation typically happens in this window as well.
Phase 4: Finishing and Final Inspections
The final phase brings the room together visually and legally. Expect 3-7 days for this work, plus scheduling lead time for the inspector.
- Painting: Bathroom paint requires moisture-resistant formulas. Prime bare drywall before applying finish coats.
- Trim and accessories: Towel bars, toilet paper holders, mirrors, and shower doors are installed last to avoid damage during earlier work.
- Final inspection: The building department inspector verifies that plumbing and electrical meet code before the permit is closed. Your contractor should coordinate this.
- Punch list: Walk the completed room with your contractor and document any items needing correction - caulk gaps, grout touch-ups, fixture adjustments - before making final payment.
First-time homeowners may find this inspection and punch-list process unfamiliar; it's a normal and important part of any permitted project.
Realistic Timeline Expectations
Combining all phases, a full bathroom remodel typically runs 3-8 weeks from the start of demolition to final walkthrough - not counting the planning and permitting period beforehand.
| Phase | Typical Duration |
|---|---|
| Planning, design, permits | 2-6 weeks |
| Demolition | 1-2 days |
| Rough-in (plumbing, electrical) | 3-7 days |
| Inspections (rough-in) | 1-5 days (scheduling dependent) |
| Waterproofing, tile, fixtures | 1-3 weeks |
| Finishing and final inspection | 3-7 days |
3-8 weeks
Typical full bathroom remodel duration
From demolition start to final inspection, based on standard single-bathroom project scope with coordinated trades.
10-20%
Recommended contingency budget
Commonly suggested by remodeling professionals to cover hidden conditions discovered during demolition, such as mold, rot, or outdated wiring.
~35%
Remodels delayed by material back-orders
A recurring finding in contractor surveys citing mid-project stalls, underscoring why pre-ordering materials before demolition is critical.
These ranges reflect typical single-bathroom projects with a general contractor coordinating trades. Larger bathrooms, custom tile work, fixture relocation, or contractor scheduling gaps all push toward the longer end. Plan for your bathroom to be out of service for the full construction window and arrange an alternative if it's your only bathroom in the home.
For context on how bathroom remodels compare in complexity and decision-making to other renovation projects, the approach shares some similarities with the choices outlined in our kitchen cabinet update guide - scope clarity up front determines everything downstream.