What You'll Need Before You Start
A successful Wi-Fi setup begins with having the right equipment in place. Before running any cables, confirm you have everything listed below - missing a single component, particularly the ISP activation itself, is often what sends people chasing phantom technical problems.
What you will need
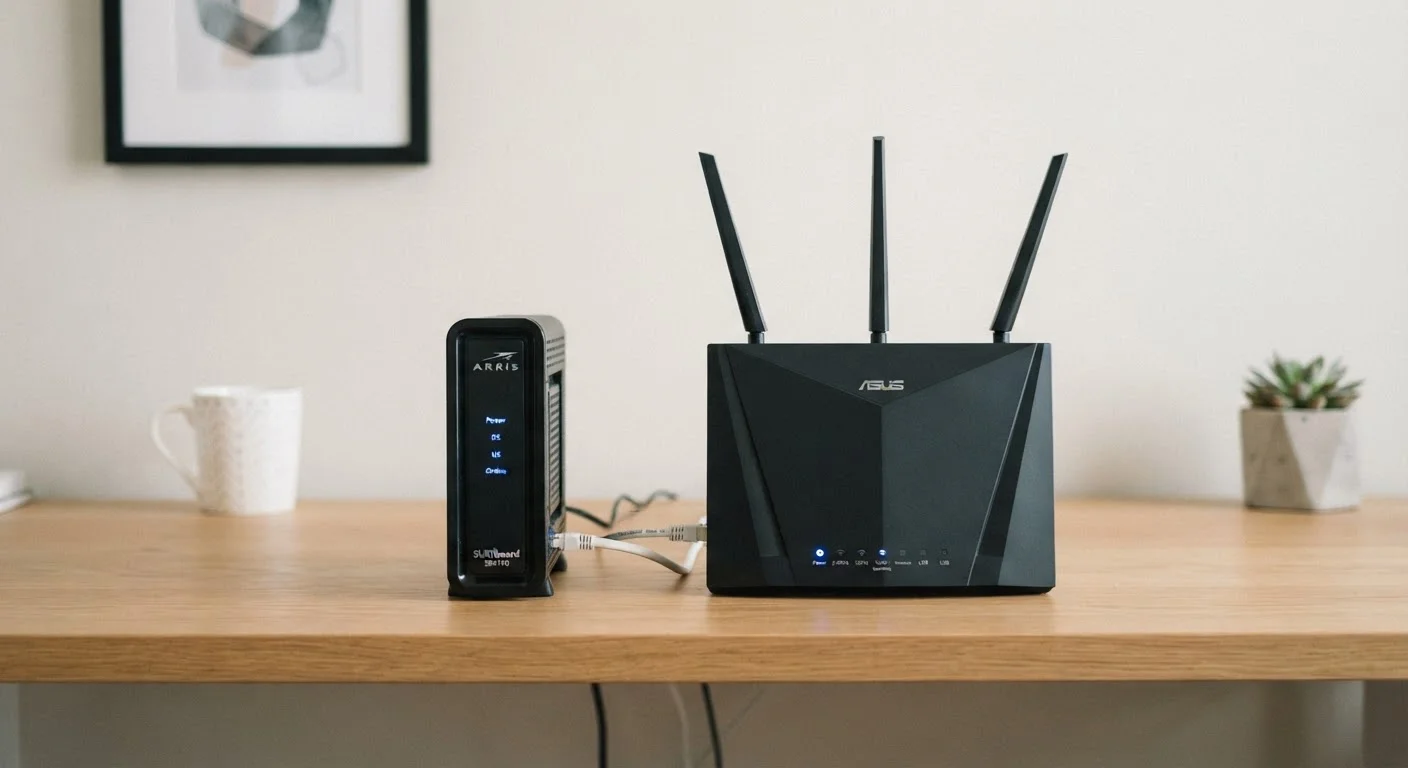
Modem
Translates your ISP's incoming signal into a format your home network devices can use.
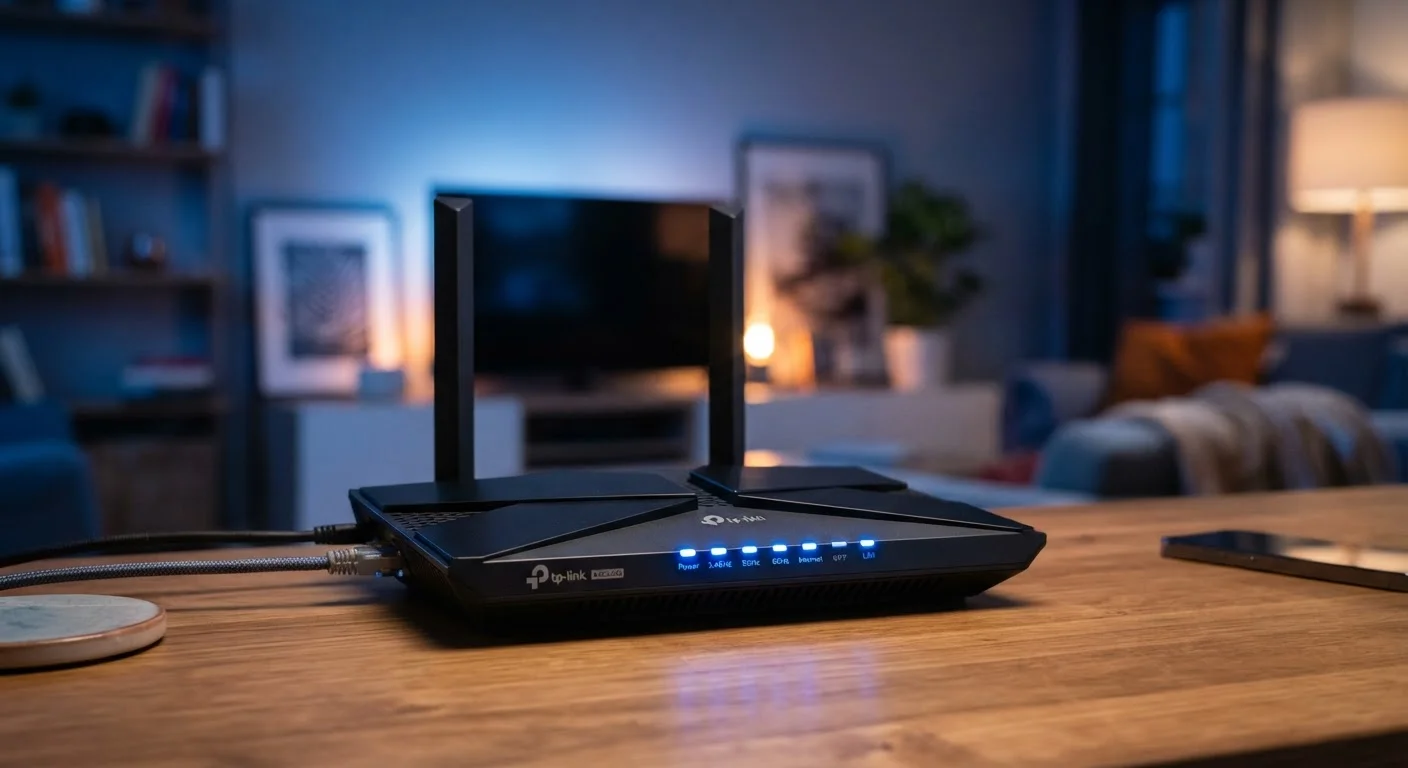
Wireless Router
Broadcasts your internet connection as a Wi-Fi signal and manages traffic between devices.
Ethernet Cable
Creates a wired link between your modem and router for a fast, stable connection between the two.
Coaxial or Phone Line Cable
Connects the modem to your ISP's wall outlet; type depends on whether you have cable or DSL service.
Router Manufacturer's App or Web Interface
Used to configure your network name, password, and advanced settings during initial setup.
Wi-Fi Analyzer App
Helps identify channel congestion or dead zones after setup so you can optimize placement.
If you're unsure whether to use a modem and router as separate devices or a combined gateway unit provided by your ISP, that choice affects which tools apply. Most ISP-provided gateways combine both functions into a single box. Either approach works with the steps below.
Step-by-Step: From Cable to Connected
Follow these steps in order. Each one builds on the previous, and skipping ahead - particularly the modem activation step - is a frequent source of frustration during setup.
Connect the modem to your ISP's wall outlet
Locate the cable or phone jack your ISP installed - typically a coaxial (round, threaded) outlet for cable internet or an RJ-11 phone jack for DSL. Screw or plug the appropriate cable firmly into the wall outlet and into the matching port on your modem. A loose connection here is one of the most common causes of activation failure.
Power on the modem and activate your service
Plug the modem's power adapter into a wall outlet and wait for it to fully boot - this typically takes two to five minutes. If this is a new modem or a first-time setup, call your ISP's activation line or follow their online activation steps. Your ISP needs to register the modem's unique identifier (called a MAC address) before internet traffic will flow. The modem's indicator lights will usually show a stable pattern once it's connected successfully - check your modem's documentation for what each light means.
Connect the router to the modem
Using an Ethernet cable, connect one end to the modem's LAN port (sometimes labeled "Ethernet" or "Out") and the other end to the router's WAN port (usually a different color - often yellow or blue). Plug in the router's power adapter and allow it to boot fully, which takes about one to two minutes. Understanding why these two devices are separate - and what each one does - is worth a moment of your time; our guide to modems vs. routers explains the distinction clearly.
Access the router's setup interface
Most modern routers offer a smartphone app for guided setup - check the router's packaging for a QR code or app name. Alternatively, connect a device to the router's default Wi-Fi network (printed on the router's label) and open a browser. Type the router's default IP address - commonly 192.168.1.1 or 192.168.0.1 - into the address bar. Log in using the default credentials on the label. The setup wizard will walk you through the core configuration.
Set your network name (SSID) and password
During setup, you'll be prompted to create a network name - called an SSID - and a password. Choose a name that doesn't identify your address or router brand, and create a password of at least 12 characters mixing letters, numbers, and symbols. Select WPA3 as your security protocol if available; if not, WPA2 is the current widely supported standard. Avoid WEP, which is outdated and easily compromised.
Place the router for maximum coverage
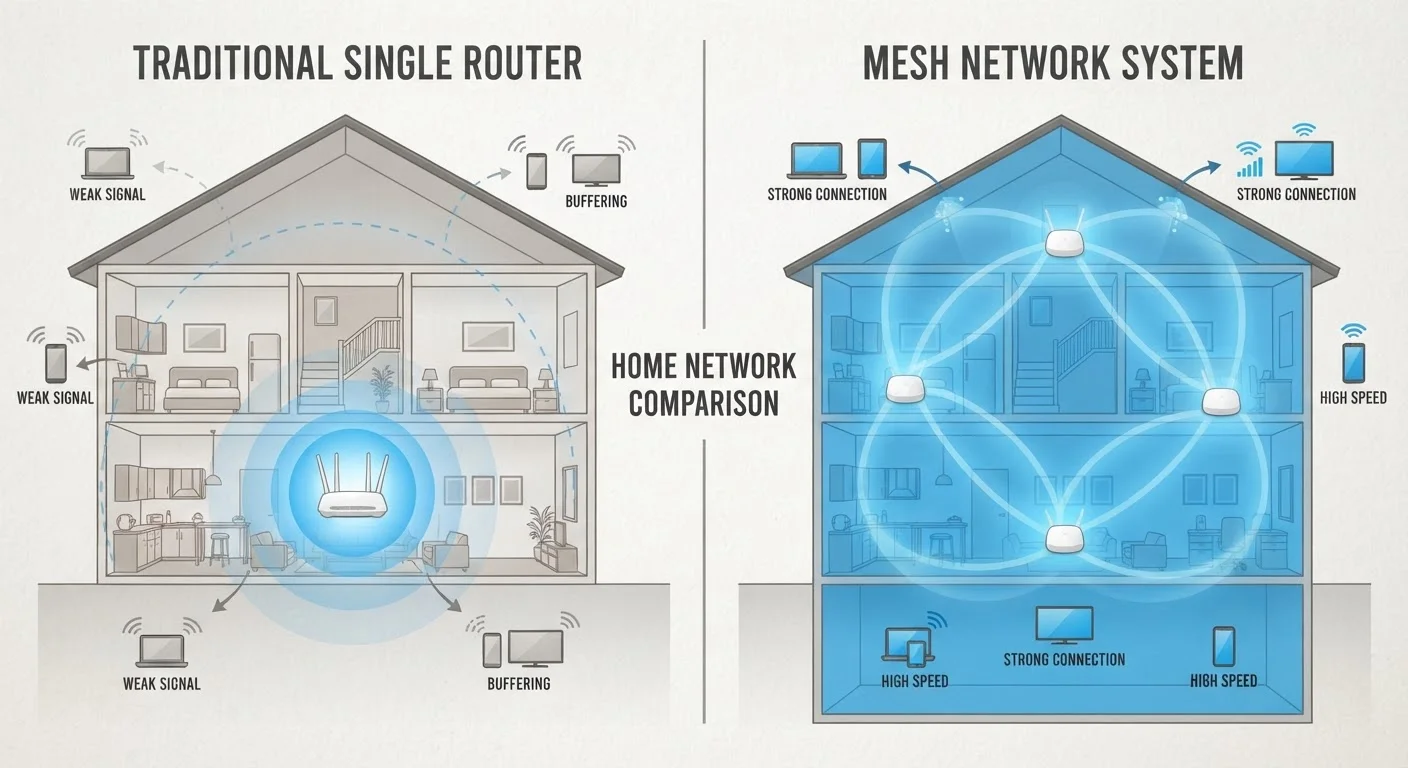
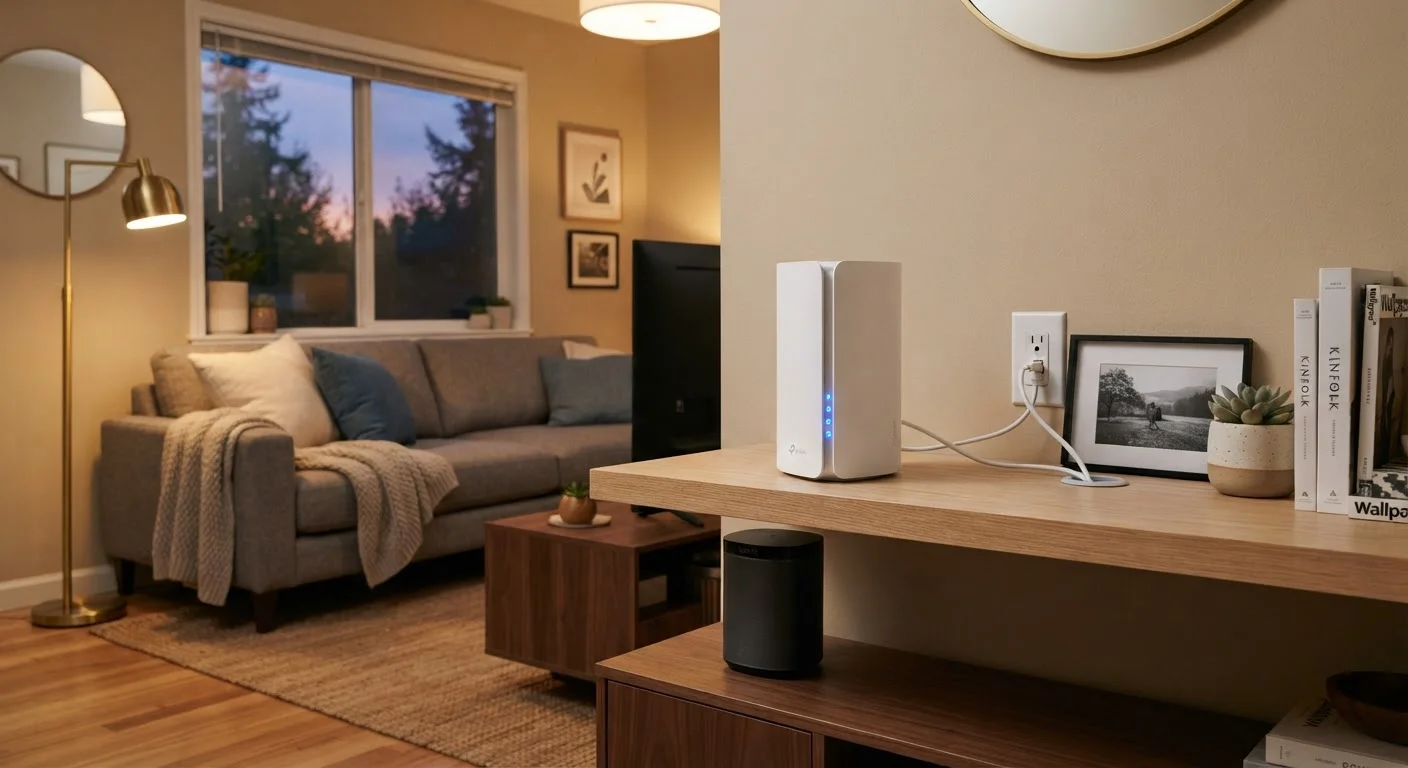
Router placement has an outsized effect on signal quality. Position the router as centrally as possible in your home, elevated off the floor - a shelf or table works well. Keep it away from thick concrete walls, large metal appliances, and microwave ovens, all of which absorb or interfere with 2.4 GHz and 5 GHz signals. Avoid placing it inside a cabinet or behind the TV. If you have a multi-story home or a large floor plan, a single router may not cover everything; our comparison of mesh networks and traditional routers can help you decide whether additional hardware makes sense.
Test your connection and update router firmware
Connect a device to your new network and run a speed test using your browser to confirm the connection is working. Compare the result to the speeds listed in your ISP plan - significant gaps may indicate a setup issue or a service problem worth reporting. Next, check for firmware updates within the router's app or admin interface and install any available updates. Firmware updates fix security vulnerabilities and improve performance; this step is also your first line of defense before connecting additional devices. For ongoing security practices, see our guide to keeping your home network secure.
Run a Wired Test Before Going Wireless
After connecting your router, plug a laptop directly into one of the router's LAN ports with an Ethernet cable and run a speed test. If the wired result matches your ISP plan's advertised speed, your modem and ISP connection are working correctly - any shortfall you see over Wi-Fi is a signal or placement issue you can address on your end.
Once every device in your home connects successfully, your core setup is complete. From here, consider common causes of Wi-Fi slowdowns if performance feels inconsistent, and review how to keep connected devices secure on your network before adding smart home gadgets or other IoT hardware.
Troubleshooting Common Setup Problems
Even with careful preparation, a few issues tend to come up repeatedly during first-time home network setup.
- Modem shows no internet light
- Confirm the ISP activation is complete, check that the coaxial or phone cable is tight at both ends, and allow up to ten minutes for the modem to fully register with your ISP's network after a reset.
- Router admin page won't load
- Make sure you're connected to the router's default Wi-Fi network - not a neighboring network - and type the IP address directly into the browser's address bar, not a search box. Try
192.168.1.1and192.168.0.1if unsure which applies. - Wi-Fi signal weak in certain rooms
- First try repositioning the router as described in Step 6. If dead zones persist in a large or multi-story home, additional hardware such as a Wi-Fi extender or a mesh system may be the practical solution. See our mesh vs. router comparison for guidance on which approach fits your space.
- Speeds are far lower than the ISP plan
- Test with a device connected via Ethernet cable directly to the router to isolate whether the issue is the ISP connection or the Wi-Fi signal itself. If wired speeds also fall short, contact your ISP.