Why a Structured Inspection Matters
Private sellers and dealerships alike present a vehicle in its best light. Photos are shot in flattering angles, interiors are detailed, and listings rarely volunteer problems. A disciplined, checklist-driven inspection shifts the information balance back in your favor.
This guide walks through every zone of the vehicle in a logical sequence - exterior, interior, under the hood, underneath the car, and on a test drive. Work through the list in order so nothing gets skipped in the excitement of a promising find.
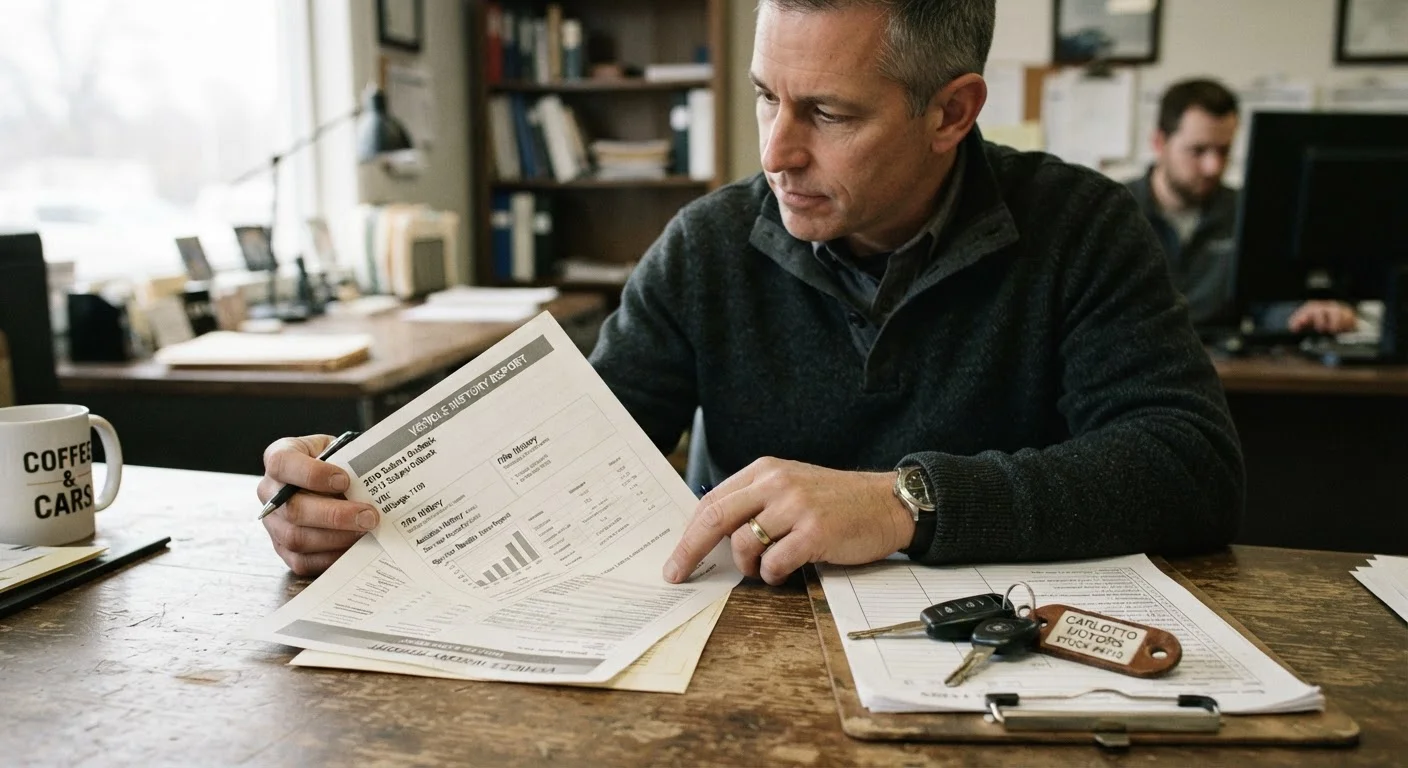
Before you arrive, pull a vehicle history report. As explained in our guide to vehicle history reports, these documents reveal title issues, odometer rollbacks, and some accident records - but they have gaps. The physical inspection fills those gaps.
Never Inspect in Poor Lighting or Rain
Inspecting a used vehicle at night, in a garage with dim lighting, or in wet weather dramatically reduces what you can see. Paint defects, rust, and fluid leaks are far easier to spot in daylight on a dry, flat surface. If a seller resists a daytime meeting, that resistance itself is worth noting.
Exterior Inspection
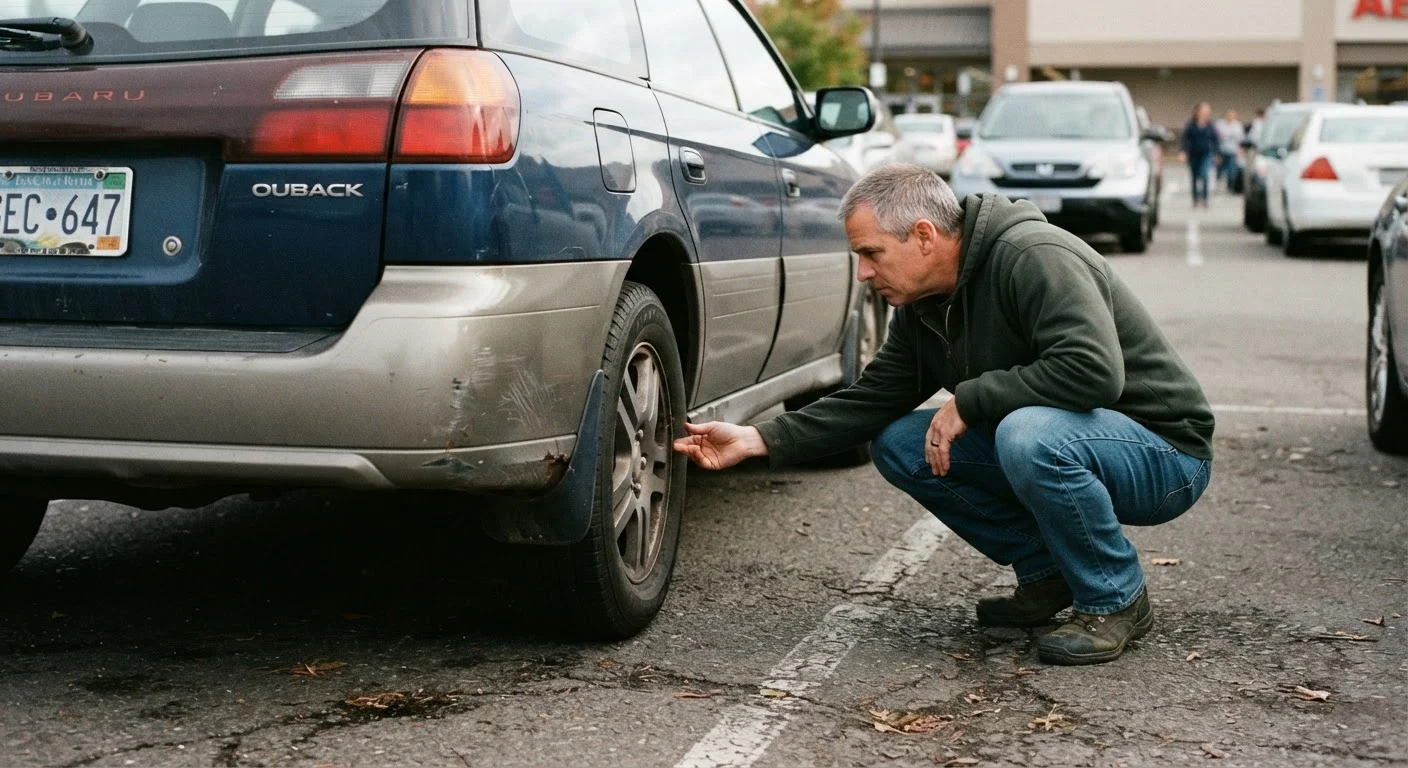
Stand 10 feet back and look at the car as a whole before getting close. Uneven stance - one corner sitting lower than the others - can indicate a failing spring or strut.
Exterior Walk-Around
Interior Check
Under the Hood
Test Drive
Once you've worked through the exterior list, check the gaps between body panels (doors, hood, trunk lid). Consistent, even gaps suggest the car was never in a significant collision. Irregular or mismatched gaps are worth probing further, potentially with a paint-thickness meter available at many tool-rental shops.
Interior and Electrical Systems
Odors tell a story before you even sit down. Musty or mildew smells suggest water intrusion; a heavy air-freshener scent is sometimes used to mask them. Burn smells near the dash can indicate electrical issues.
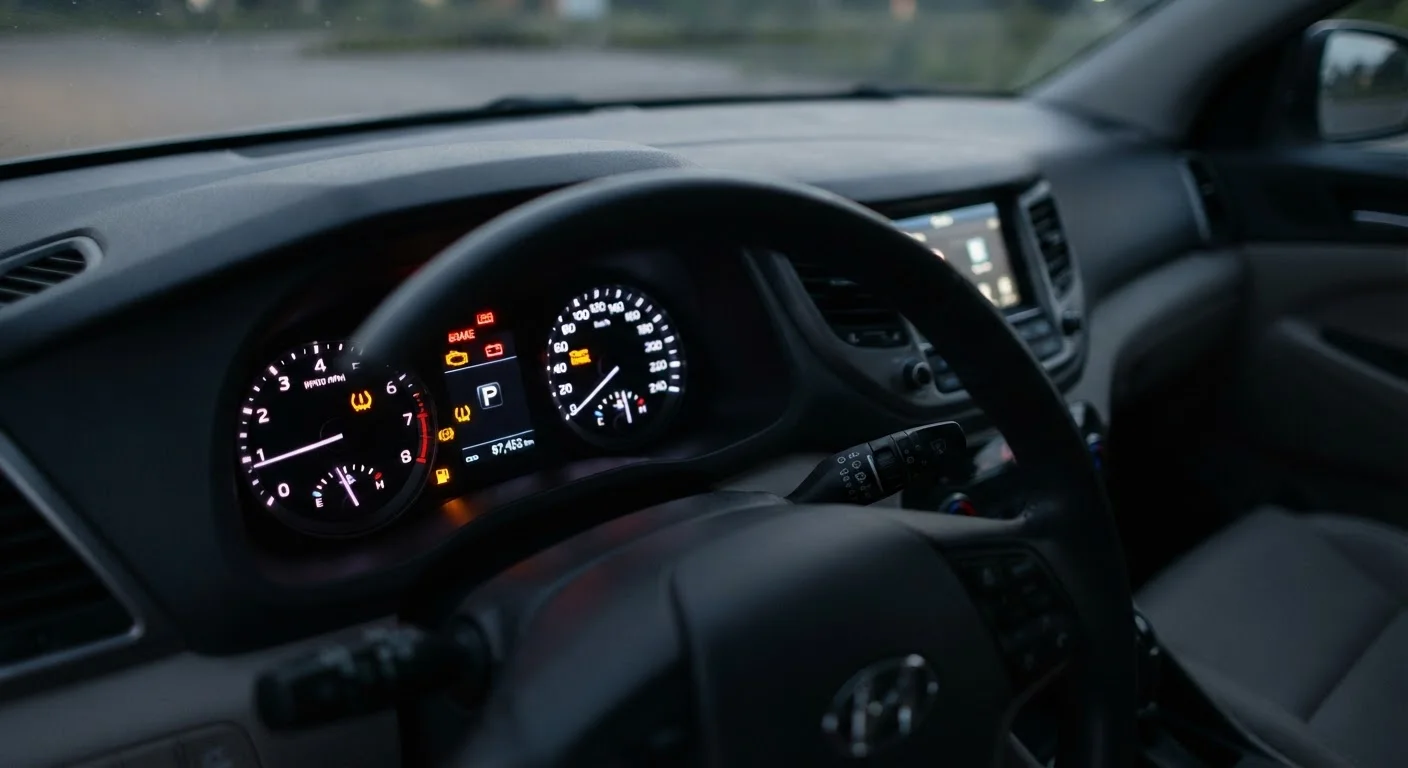
Turn the key to the "on" position without starting the engine. Every warning light should illuminate briefly, then go off. If the check engine light stays on - or if it never illuminates at all (a sign the bulb has been removed) - treat that as an immediate flag. Our article on dashboard warning lights explains what each symbol means so you can evaluate severity on the spot.
Test every powered feature methodically: all windows up and down, both directions of each mirror adjustment, HVAC on all fan speeds and temperature settings, every USB port, the infotainment screen, heated seats, and all interior lights. Repairs to these systems are surprisingly expensive.
Under the Hood
You don't need to be a mechanic to spot the most important warning signs under a hood. What you're looking for is evidence of neglect, leaks, or recent hasty repairs meant to mask deeper problems.
A Running Engine Hides Startup Problems
Some sellers warm up the engine before you arrive specifically to mask hard-start issues, excessive smoke on a cold start, or unusual noises that disappear once the engine reaches operating temperature. If the car is already running when you get there, make a note of it and factor it into your assessment. Requesting a return visit for a cold-start inspection is entirely reasonable.
Check fluid levels and conditions: engine oil (dark brown is normal; gritty or milky suggests problems), coolant (should be translucent green, orange, or pink - never brown or oily), brake fluid, power steering fluid if applicable, and the windshield washer reservoir. Look at the underside of the oil cap - a creamy, mayonnaise-like residue there is a classic sign of a head gasket leak.
Inspect belts for cracking or fraying and hoses for soft spots or swelling. Look at the battery terminals for heavy white or blue corrosion. A clean, well-maintained engine bay isn't a guarantee, but a neglected one is an honest signal.
Flashlight or headlamp
Illuminate dark areas under the hood, inside wheel wells, and along the vehicle's undercarriage.
Tread depth gauge
Measure remaining tire tread to assess replacement cost and detect uneven wear patterns.
OBD-II code reader
Plug into the vehicle's diagnostic port to check for stored fault codes, including pending codes not yet triggering a warning light.
Paint thickness meter
Detect body filler or respray on panels that may indicate prior collision damage not visible to the eye.
Vehicle history report service
Provide title, odometer, and accident history records before the physical inspection begins.
The Test Drive and Next Steps
A test drive should include city streets, a highway stretch, and if possible a parking-lot low-speed maneuver. Cold starts reveal more than warm ones - if the seller has the car running when you arrive, ask to return when it's cold, or simply note it.
Listen for clunks over bumps (worn suspension), grinding during braking (worn pads or rotors), whining from the transmission, or hesitation during acceleration. Feel whether the steering wheel pulls to one side and whether the car tracks straight on a flat road.
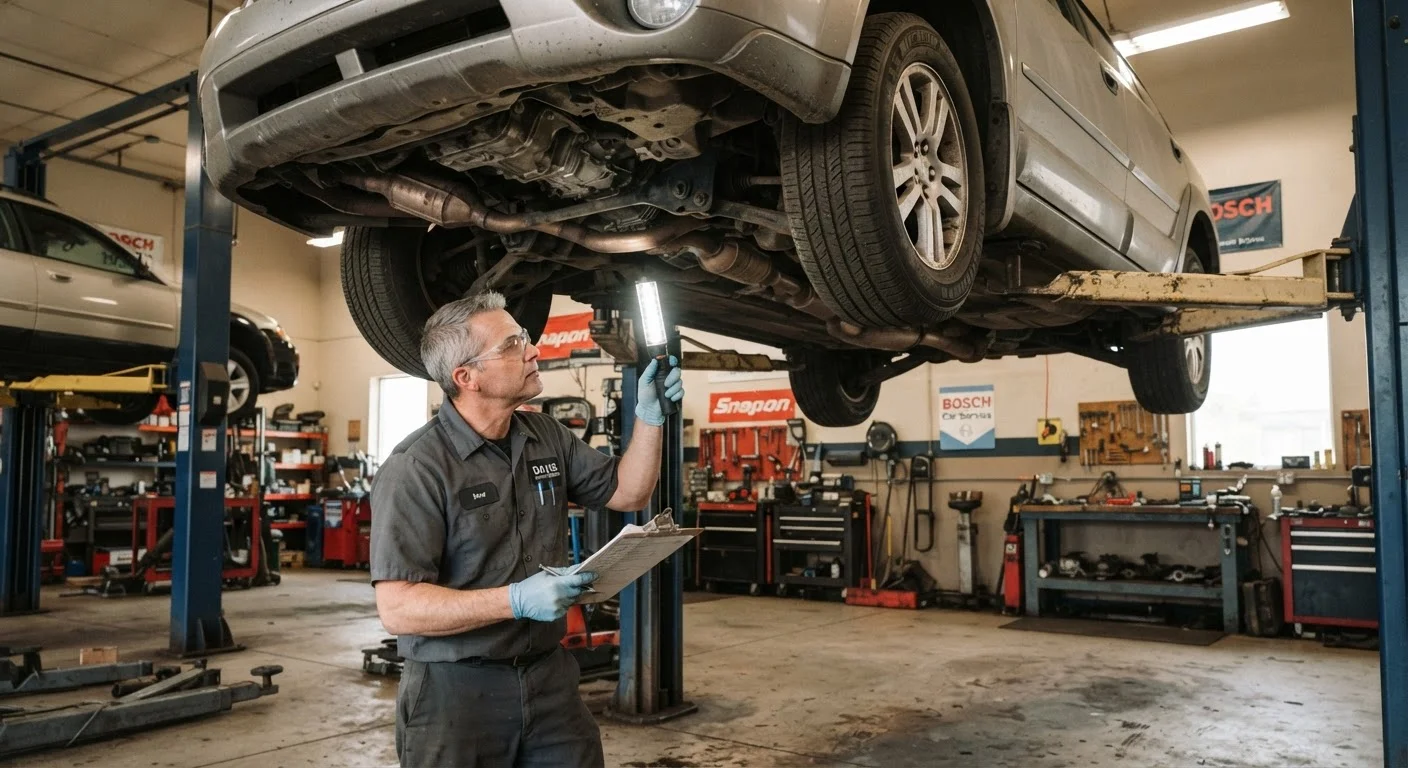
If the inspection passes your personal threshold, the logical next step is a pre-purchase inspection by an independent mechanic - someone with no relationship to the seller. Our overview of what a pre-purchase inspection covers details what a qualified technician will examine that goes beyond what this checklist can address on its own.
Once you've bought, the work shifts to keeping the car in good condition. Explore our car maintenance hub for ongoing upkeep guidance, and review your auto insurance options before you drive the vehicle home.
This article is for general informational purposes only and does not constitute professional mechanical or financial advice. Always consult a qualified mechanic for a pre-purchase inspection before committing to a used vehicle purchase.