Why Caulk Fails More Often Than It Should
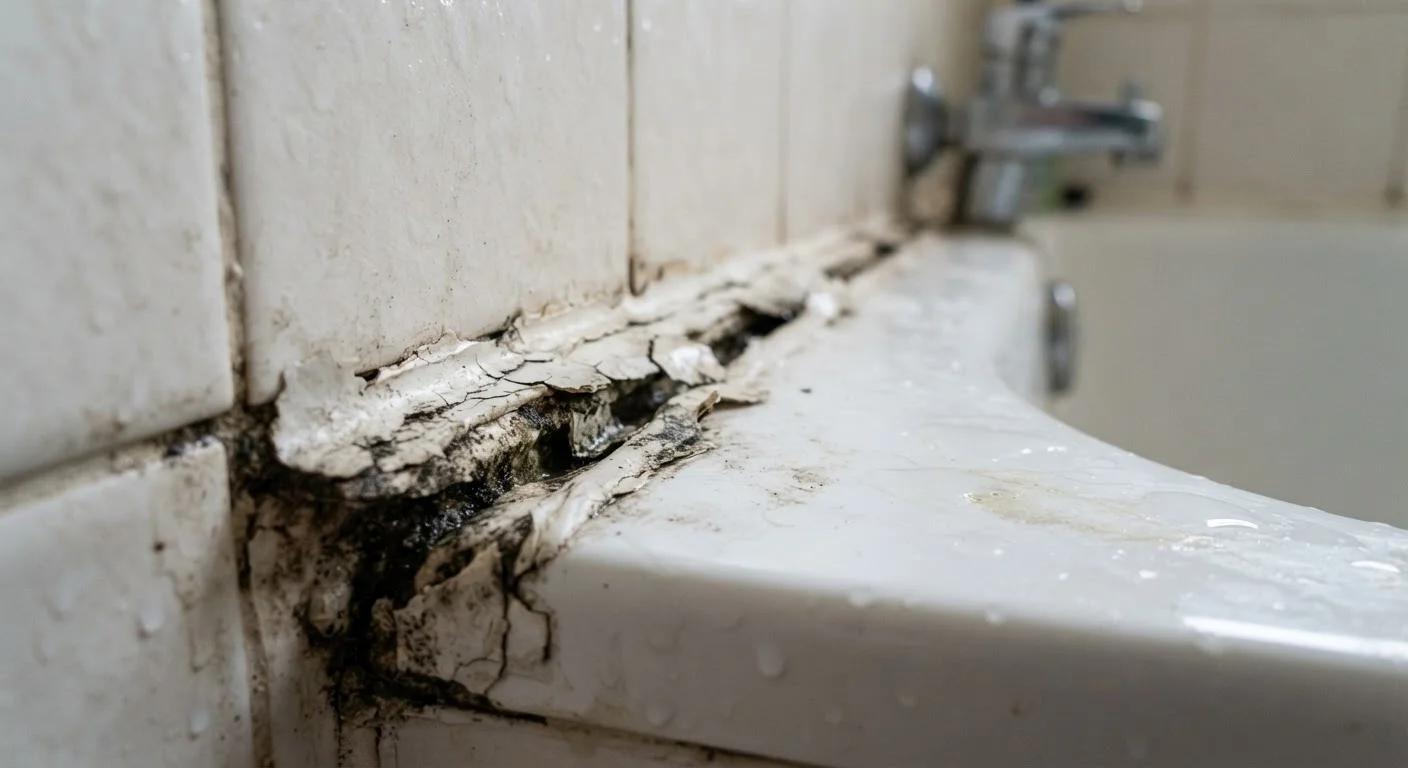
Caulk looks simple - squeeze it out, smooth it down, done. But the failure rate on DIY caulk jobs is high enough that many homeowners find themselves redoing the same joint within a year or two. The problem is rarely the caulk itself. It almost always comes down to one (or more) of a handful of repeatable mistakes made during product selection, surface preparation, or application.
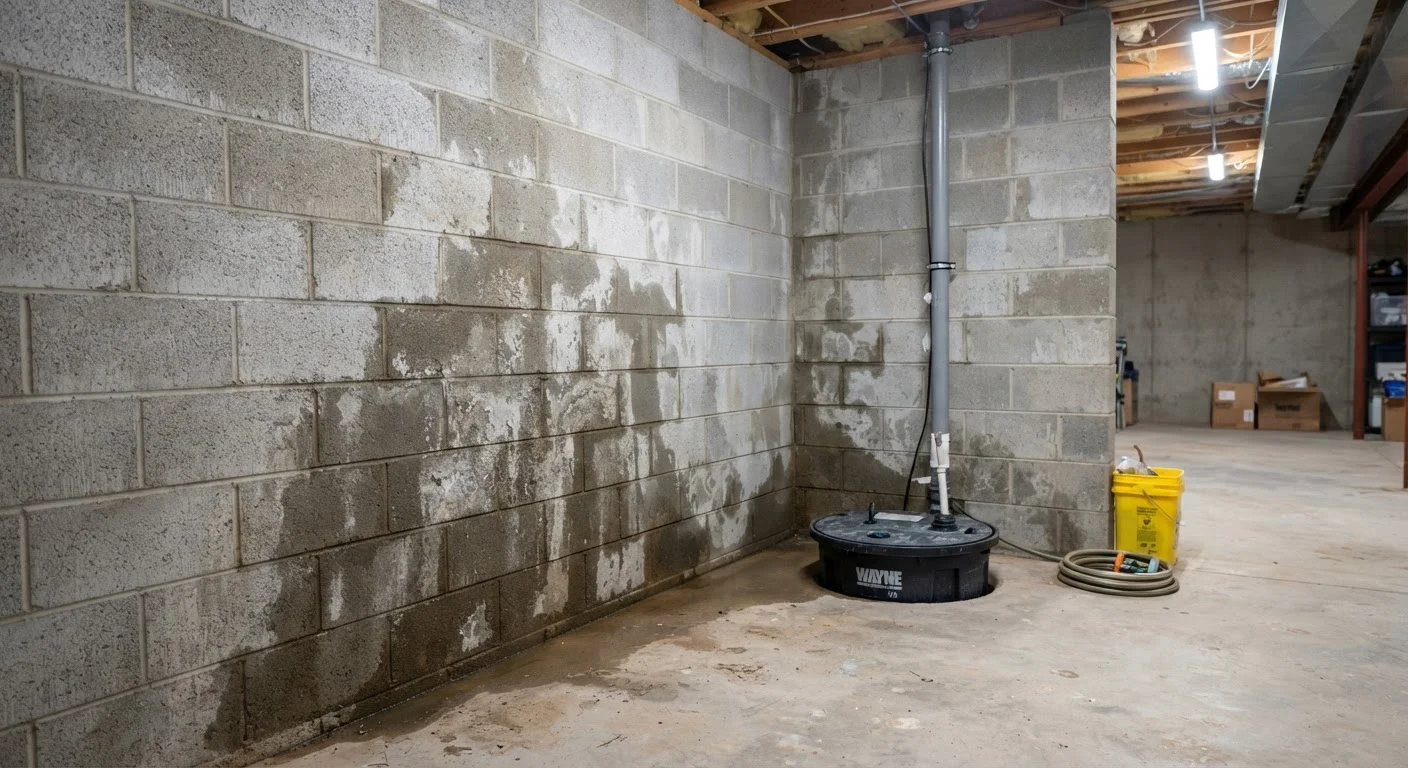
Understanding these failure patterns matters because caulk isn't just cosmetic. A failed bead along a tub surround, window frame, or exterior siding joint lets water migrate into places it should never reach - behind tile, into wall cavities, around framing. The downstream damage from a few dollars' worth of failed caulk can be significant. If you're also dealing with broader moisture issues, see our guide on waterproofing methods and what they actually address for the bigger picture.
Using the wrong type of caulk for the location.
Why it happens: The caulk aisle offers dozens of formulas, and many homeowners grab whichever tube is cheapest or most familiar. A paintable latex caulk designed for baseboards will not hold up in a shower.
Skipping or rushing the removal of old caulk.
Why it happens: Pulling off the obvious loose pieces feels like enough. Applying new caulk over even a thin layer of old residue gives the new bead a compromised bonding surface.
Applying caulk to a damp or cold surface.
Why it happens: It's tempting to caulk a bathroom right after cleaning it, or to tackle an exterior joint on a cold afternoon. Moisture on the surface breaks adhesion; cold temperatures slow or prevent full curing.
Cutting the tube tip too wide and overfilling the joint.
Why it happens: A bigger opening seems to mean a faster job. In practice, excess caulk sags, skins unevenly, and shrinks more as it cures - leaving gaps and a messy finish.
Failing to tool and smooth the bead immediately after application.
Why it happens: Some instructions make tooling sound optional. Skipping it leaves a rounded bead that touches the joint edges only at its surface rather than pressing into them.
Not allowing adequate cure time before exposing the joint to water or paint.
Why it happens: Caulk feels dry to the touch quickly, which gives the impression it's ready. Surface dryness and a full cure are different states.
Getting the Next Application Right
Once you've removed old caulk with a dedicated removal tool or utility knife, and cleaned the joint with rubbing alcohol or a mild detergent (letting it dry completely), you're ready to apply correctly. Cut the tube tip at a shallow angle - a smaller opening gives you more control. Apply steady, even pressure while moving the gun at a consistent pace. Work in one continuous pass rather than stopping and restarting, which creates ridges and air pockets.
Don't Caulk Over Active Leaks or Structural Gaps
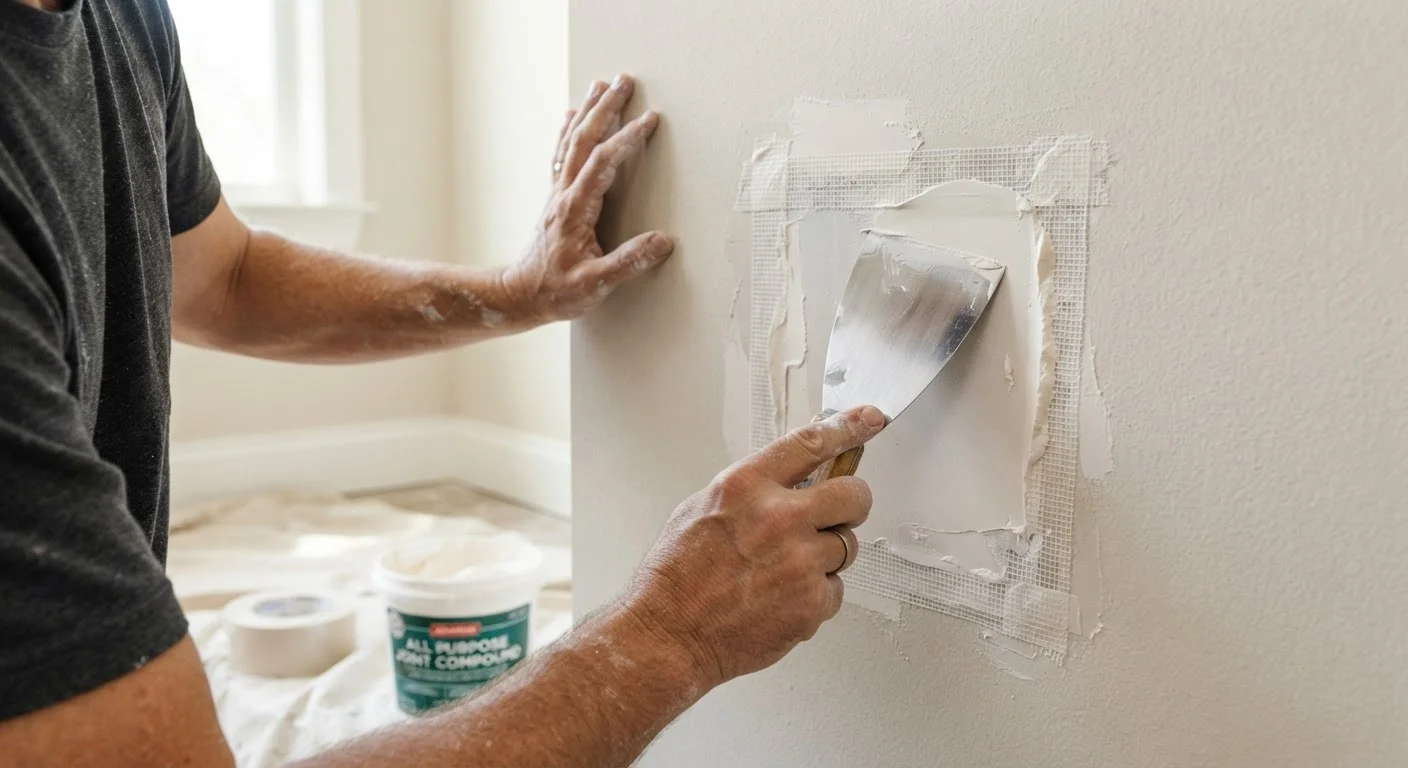
Caulk is a flexible sealant, not a structural adhesive or leak-stopper under pressure. If a joint is failing because of movement in the underlying structure - shifting framing, a settling foundation, or a plumbing leak behind the wall - caulk will fail again quickly. Identify and address the root cause first. For wall and surface damage connected to water intrusion, our guide on matching the right drywall repair to the damage can help you assess what you're dealing with.
Immediately after applying, wet your fingertip or a caulk tool and draw it along the bead in a single smooth stroke. This presses the caulk into the joint for better adhesion and removes excess. Don't rush the cure time - most latex caulks can accept light contact in an hour but need 24 hours before exposure to water. Silicone formulas often need longer. Check the product label for specifics.
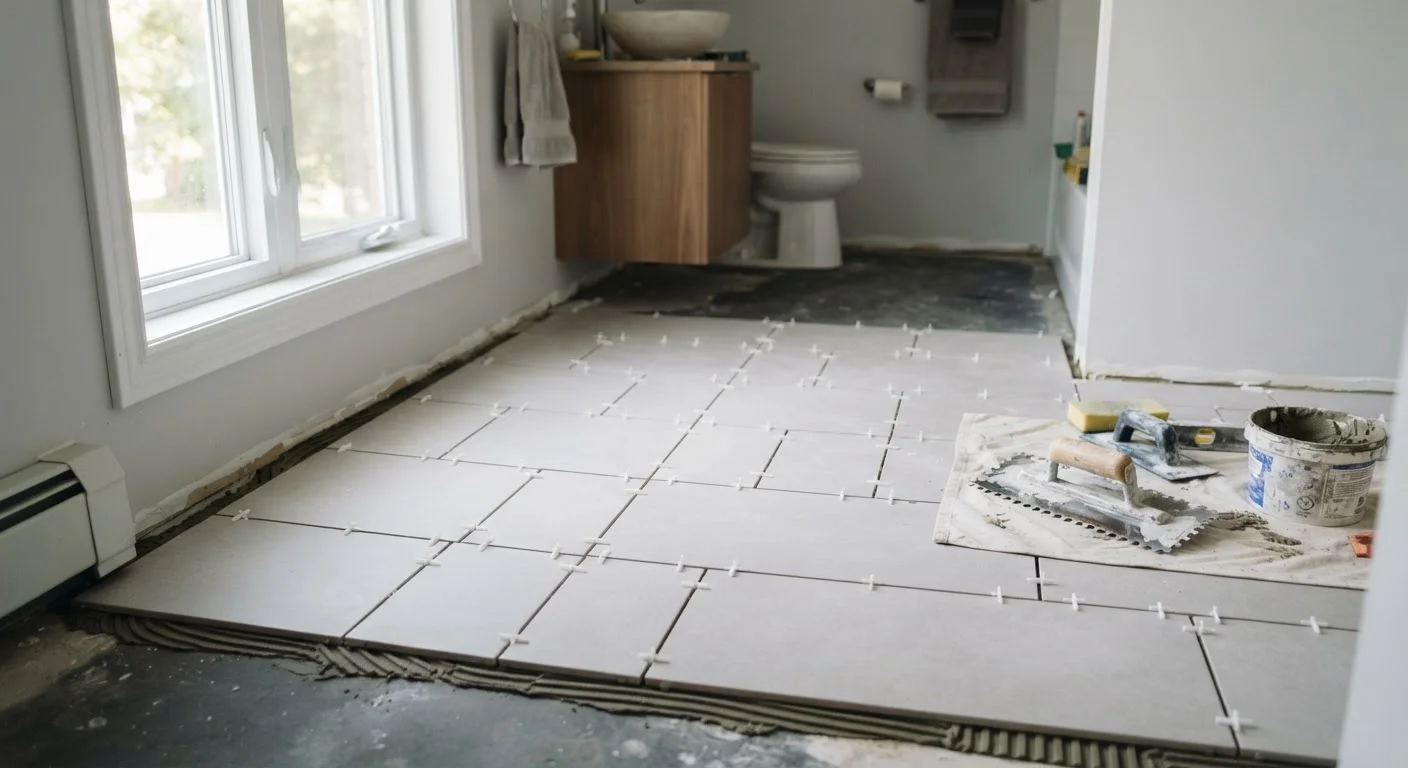
For tiled wet areas specifically, caulk should replace grout at all inside corners and where tile meets a different surface. Grout is rigid and will crack under movement; caulk is designed to flex. Our article on tile work fundamentals every DIYer should understand explains where this distinction matters most in a full tile installation.
Exterior caulk jobs add one more variable: temperature. Most caulks should not be applied below 40°F or above 90°F, and direct sunlight on a hot surface can cause the product to skin over before it bonds. Early morning application on a mild day typically yields the most reliable results.
After the cure, inspect the bead. If you see gaps, bubbles, or separation at the edges, remove and redo that section - partial repairs over a failing bead rarely hold. Done correctly, interior silicone or siliconized-latex caulk in a wet area can last many years before needing attention.