What You Need Before You Begin
Setting up a smart speaker is genuinely one of the simpler consumer tech tasks - but a few things need to be in place first. Gathering them upfront prevents the most common mid-setup frustrations.
What you will need
Manufacturer's Companion App
Required to walk through device registration, Wi-Fi pairing, and initial configuration.
Wi-Fi Router Credentials
Your network name and password are needed to connect the speaker to the internet during setup.
Platform Account (Amazon, Google, Apple, etc.)
Links the device to your identity and enables personalized features, voice recognition, and smart home integrations.
Ethernet Adapter (model-specific)
Some speakers support a wired connection as a fallback if Wi-Fi pairing is unreliable.
If you're new to the idea of smart home ecosystems - the platforms that determine how devices communicate with each other - it's worth understanding the landscape before committing to a setup. Our article Smart Home Ecosystems Explained covers how these platforms work and why your choice at this stage has downstream effects on every device you add later.
Step-by-Step: From Box to Connected
Follow these steps in order. Each builds on the last, and skipping ahead - particularly around app sign-in or Wi-Fi - is the most reliable way to create problems you'll need to backtrack to fix.
Download the Companion App and Sign In
Before powering on the speaker, install the manufacturer's official companion app on your smartphone from the App Store or Google Play. Open the app and sign in to your platform account. If you don't have one, create it now - you'll need a verified email address and a password. Having this ready before the speaker boots up avoids a time-pressured login mid-setup.
Plug In and Power On the Speaker
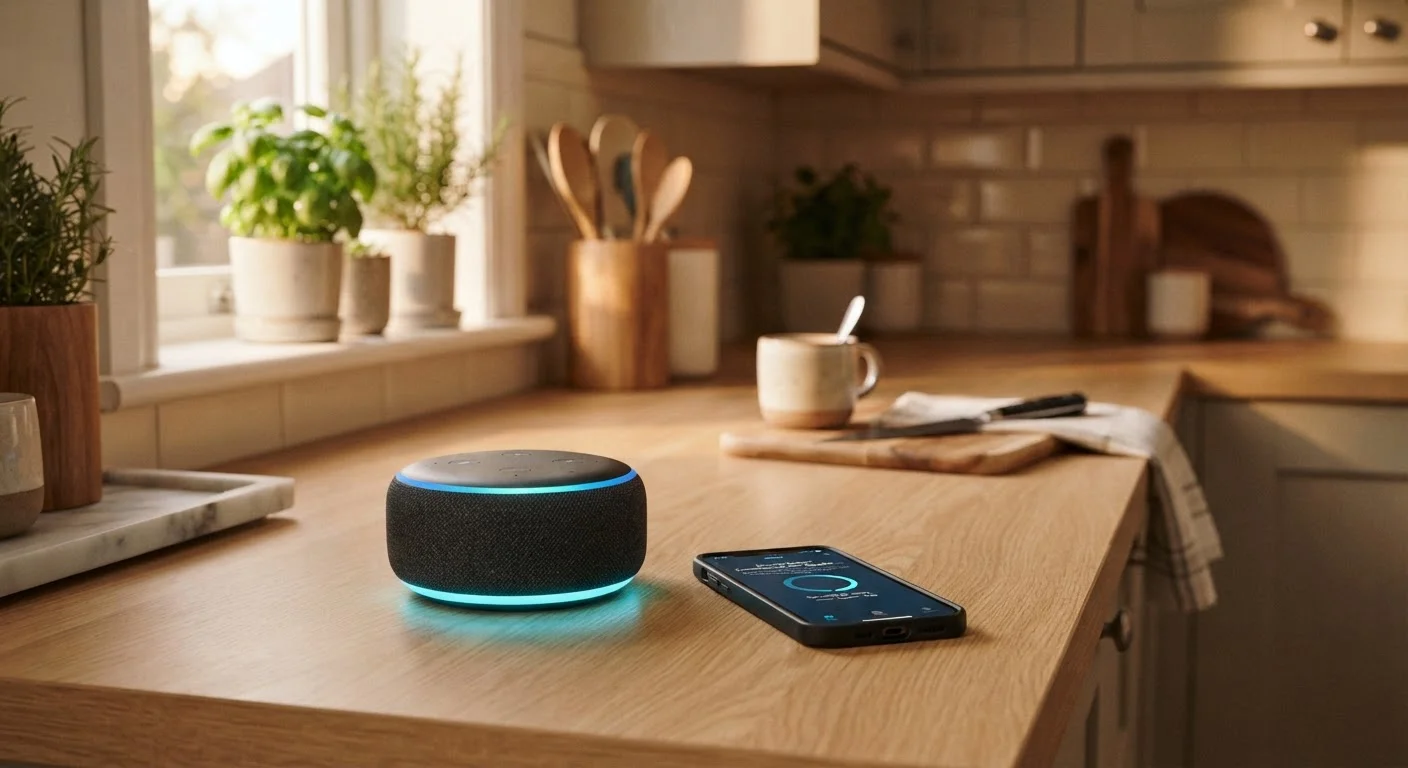
Connect the power adapter to the speaker and plug it into a wall outlet. Most speakers indicate they're starting up with a light ring animation or a startup chime - consult the quick-start card in the box if nothing happens within 30 seconds. Wait for the device to signal that it's ready for setup, which typically takes under a minute.
Add the Device in the App
In the companion app, locate the option to add a new device - typically found under a Devices, Add Device, or + menu. The app will search for the powered-on speaker. Your phone's Bluetooth must be enabled for this discovery process to work on most platforms, even if the speaker will ultimately use Wi-Fi. Select the detected device when it appears.
Connect the Speaker to Your Wi-Fi Network
The app will prompt you to select your Wi-Fi network from a list and enter the password. Choose the network the speaker will use day-to-day. Most smart speakers support both 2.4 GHz and 5 GHz bands - if your router broadcasts both under the same name, the device will negotiate automatically. If they have separate names, either band works; 5 GHz offers faster speeds while 2.4 GHz has longer range through walls.
Complete Setup and Test the Wake Word
Once connected, the app will finish configuring the device and may prompt you to choose a room location, set a default music service, or configure voice recognition. Complete these optional steps now or skip them to return later. When setup confirms success, say the wake word aloud - the speaker should light up and respond. Run a simple test command such as asking for the time or weather to confirm the microphone and internet connection are working correctly.
Struggling with Discovery? Check Bluetooth First
The most common setup failure occurs when a phone's Bluetooth is off or restricted during device discovery. If the app can't find your speaker after 60 seconds, verify Bluetooth is enabled in your phone's system settings - not just in the app. Also confirm that location permissions are granted to the companion app, which some platforms require for local device scanning to function.
Placement, Privacy, and Getting More from Your Speaker
Where you put your speaker and how you configure it after the initial setup both significantly affect how useful it becomes day to day.
Finding the Right Spot
Aim for a central location in the room, away from walls and corners when possible. Proximity to a wall can muffle the microphone, making voice commands less reliable. Keep the speaker away from TVs, radios, and other audio sources that might accidentally trigger the wake word. Kitchens and living rooms are the most common starting points, though placement depends entirely on where you spend the most time talking.
Reviewing Privacy Settings
Smart speakers use always-on microphones to listen for a wake word. The device should only begin recording and transmitting audio after that word is detected - but it's sensible to review the privacy settings in the companion app regardless. Most platforms let you review or delete saved voice history, adjust microphone sensitivity, and disable certain data-sharing features. Taking ten minutes to explore these settings after setup is time well spent.
Connecting Additional Devices
Once your speaker is online, you can begin adding compatible smart home devices - lights, plugs, thermostats - through the same companion app. The ecosystem you chose during setup governs what will and won't work natively. For a broader look at how people integrate these devices room by room, see Ways Smart Home Devices Are Used Differently Across the House. And if you're building out a connected home from scratch, Your First Smart Home: A Practical Starting Point is a useful companion to this guide.
Ecosystem Lock-In Is Real
The smart home ecosystem you configure your speaker with - whether Amazon Alexa, Google Home, Apple HomeKit, or another - determines which third-party devices will integrate without friction. Switching ecosystems later typically requires re-pairing every connected device individually. Make this choice deliberately rather than defaulting to whatever account you already have. Our overview of smart home ecosystems can help clarify the trade-offs before you commit.