Why Most DIY Paint Jobs Fall Short
Painting looks straightforward - open a can, roll it on, done. In practice, the gap between a flat, professional-looking finish and one that peels, streaks, or shows every imperfection usually comes down to decisions made before the brush ever touches the wall. Most first-time painters underestimate prep time and overestimate how much the paint itself will do the heavy lifting.
If you're new to home improvement projects, this introduction to home improvement offers helpful context for approaching your first projects with realistic expectations. For painting specifically, what follows are the things experienced painters do differently - steps that are easy to skip but hard to fix after the fact.
Test for Lead Paint Before Sanding or Scraping
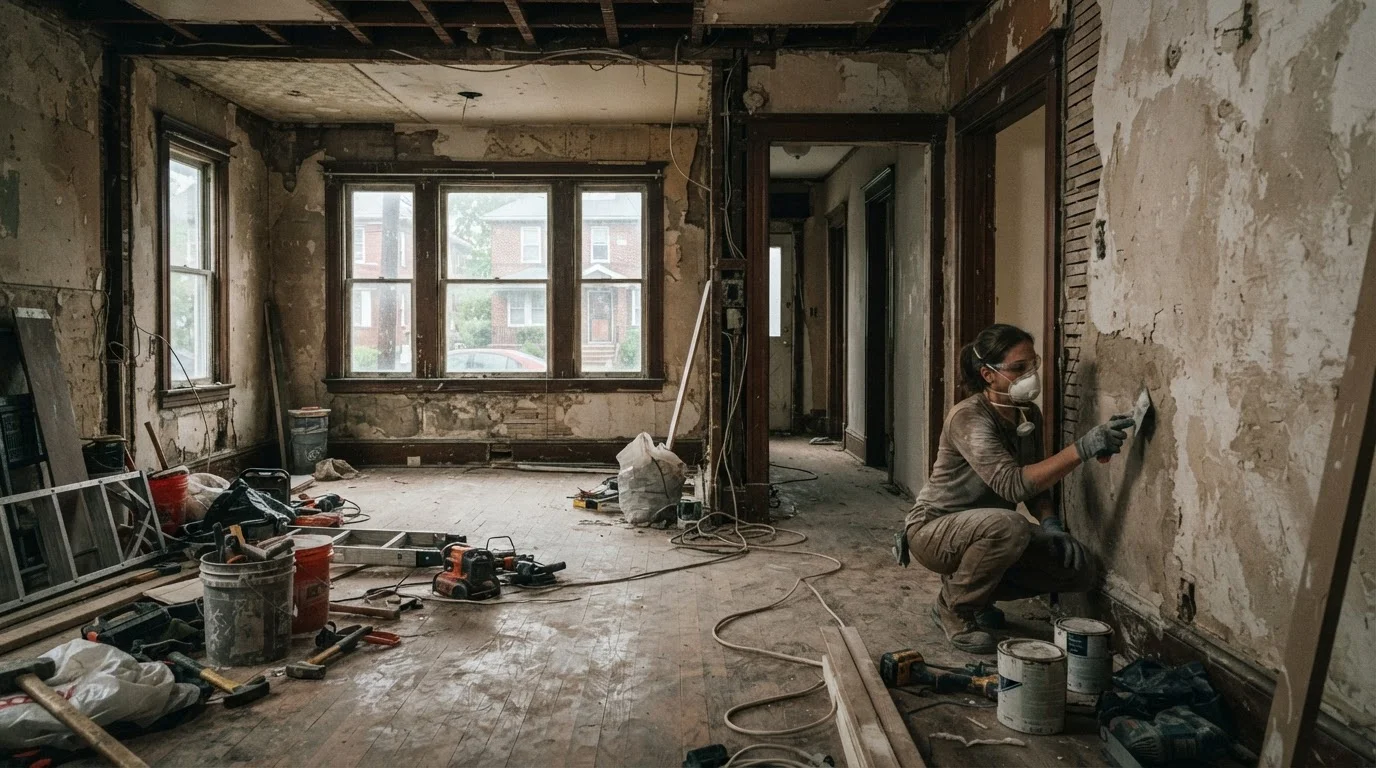
In homes built before 1980, existing paint layers may contain lead. Sanding or scraping lead paint creates fine dust that poses serious health risks, particularly for children and pregnant women. Inexpensive lead test swabs are widely available, or you can hire a certified inspector. If lead is present, do not disturb the surface without following EPA-recommended safe work practices.
For a broader safety checklist covering pre-1980s renovations, see this guide to older home hazards before starting any surface prep work.
Disturbing lead paint without proper precautions creates a serious health hazard for your household.
Clean and Repair Walls Before Anything Else
Paint does not hide wall problems - it highlights them. Grease, dust, and grime prevent good adhesion, and small cracks or nail holes become more visible under a fresh coat of paint, not less. Wash walls with a mild cleaner, let them dry completely, and fill any holes or cracks with spackling compound. Sand repairs smooth and feather the edges so they blend into the surrounding surface.
Paint amplifies surface flaws rather than concealing them - clean and repair before you coat.
Use Primer Strategically, Not Sparingly
Primer is not optional when you're painting over bare drywall, covering stains, switching from a dark to a light color, or painting a surface that hasn't been painted before. Skipping it results in uneven sheen, blotchy coverage, and paint that soaks unevenly into the wall. Tinted primer - mixed to approximate your topcoat color - can reduce the number of finish coats needed when making dramatic color changes.
Tinted primer reduces the number of topcoats needed when making a significant color shift.
Choose the Right Sheen for the Room
Paint sheen affects both aesthetics and durability. Flat or matte finishes minimize the appearance of imperfections but are harder to clean - suitable for low-traffic areas like adult bedrooms. Eggshell and satin finishes offer a slight glow and are easier to wipe down, making them practical for living rooms, hallways, and children's rooms. Semi-gloss is standard for trim, doors, and kitchens or bathrooms where moisture and scrubbing are routine.
Sheen choice isn't cosmetic preference - it directly determines how cleanable and durable each surface will be.
Mask and Protect Everything You Don't Want Painted
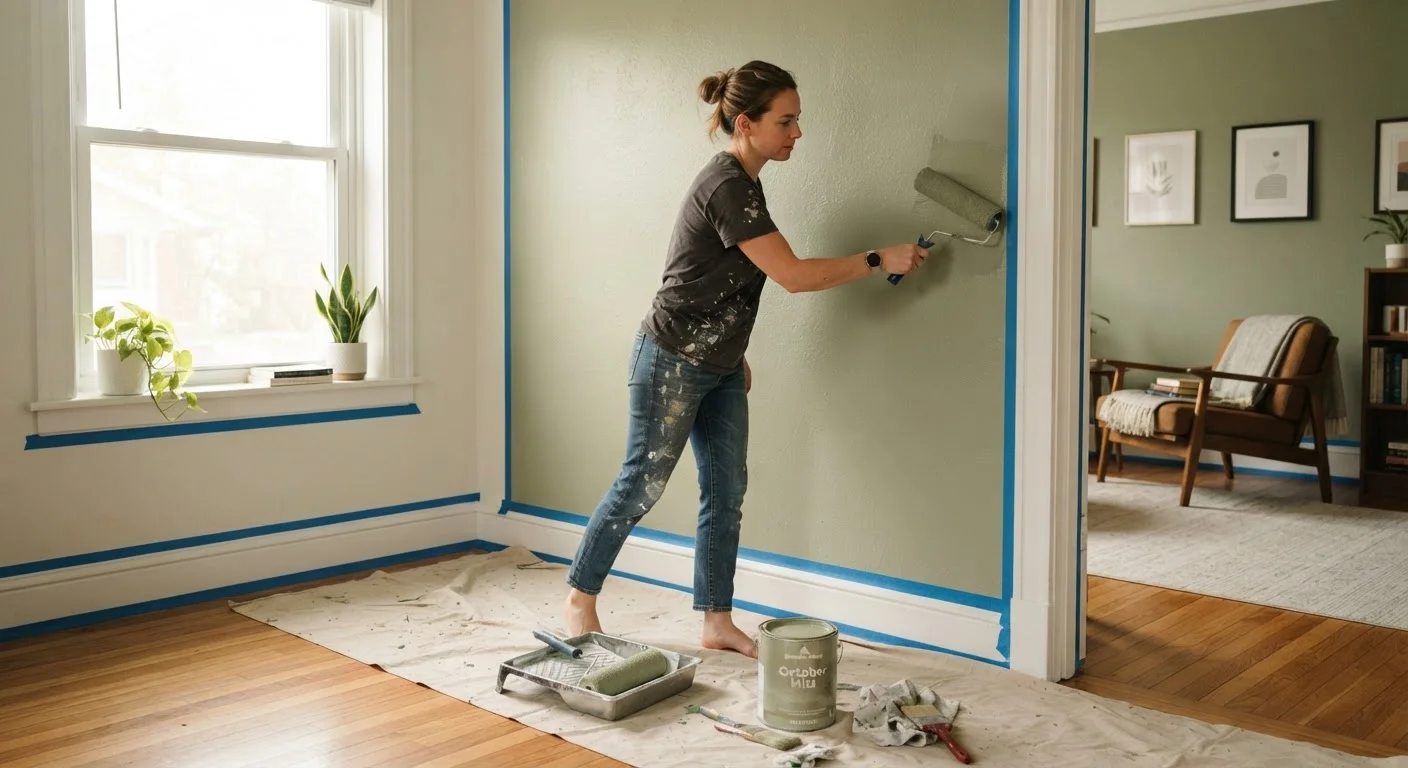
Good tape application takes time but saves far more time in cleanup. Apply painter's tape carefully along trim, outlets, and ceiling lines, pressing the edge firmly to prevent seepage. Use drop cloths on floors - canvas holds better than plastic, which shifts underfoot. Remove switch plates and outlet covers entirely rather than taping around them. Taking 30 extra minutes on masking usually saves hours of touch-up work.
Pressing tape edges firmly before painting is what prevents the bleed lines that ruin a clean job.
Control Temperature, Humidity, and Ventilation
Paint requires the right environment to cure properly. Most latex paints perform best applied between 50°F and 85°F with moderate humidity. High humidity slows drying and can cause finish problems; low humidity in winter can cause paint to dry too quickly and crack. Open windows for ventilation to manage fumes and aid drying, but avoid painting on very windy days or when outdoor dust could settle on wet walls.
Painting in too-cold or too-humid conditions is a leading cause of finish failure most homeowners overlook.
Apply Paint in Thin, Even Coats
The instinct to load up the roller and get full coverage in one pass leads to drips, runs, and uneven texture. Two thin coats applied after the first has fully dried almost always produce a better result than one heavy coat. Work in sections using a "W" or "M" rolling pattern to distribute paint evenly, then smooth with parallel strokes. Cut in along edges with a brush before rolling the field of the wall.
Two thin coats will always outperform one heavy coat - patience here pays off in the final appearance.
Finish Strong and Know Your Limits
Once you've worked through every coat and pulled the tape while the paint is still slightly tacky (waiting too long causes tearing), give the room adequate cure time before moving furniture back in. Paint may feel dry to the touch within hours, but full hardening typically takes one to two weeks depending on the product and conditions.
Pull Tape at the Right Angle
Remove painter's tape at a 45-degree angle while the paint is still slightly tacky - not fully dry. Pulling too late causes the tape to tear away dried paint along with it, creating a jagged edge that requires touch-up. If the paint has already cured hard, score along the tape edge lightly with a utility knife before pulling to get a clean line.
Painting is one of the more forgiving DIY tasks when approached methodically - but it's also one of the easiest to rush through and regret. For a broader look at which projects make sense to do yourself versus when to call a professional, the DIY vs. hiring out framework offers a practical decision-making approach worth reading before you start any project.