Why Arrival Logistics Catch First-Timers Off Guard
Most first-time international travelers spend months preparing for their trip - booking flights, arranging accommodation, planning activities - and then arrive at a foreign airport exhausted, disoriented, and unsure what happens next. The arrival process is rarely explained in detail, yet it's where the most consequential friction points cluster: immigration queues, customs declarations, unfamiliar currency, and ground transportation decisions all land in the first 90 minutes.
This checklist is designed to close that gap. It covers what you need to do before the wheels touch down, during the immigration and customs process, and in the first hour after you clear the terminal. For a broader view of how arrival planning fits into your overall trip preparation, see our Trip Planning Timeline for a stage-by-stage breakdown starting months before departure.
Don't Skip the Declaration Form
Many countries impose fines or confiscate goods for under-declaration at customs, even when the omission is accidental. If you're unsure whether an item requires declaration - including food, plants, large amounts of cash, or gifts - declare it and let the officer decide. It's far less costly than the alternative.
Unofficial Taxis Are a Common Scam
In many international airports, unlicensed drivers approach arriving travelers with seemingly good offers. These situations can result in overcharging, unsafe rides, or worse. Always use the official taxi rank, a pre-booked transfer, or a verified ride-hailing app tied to a registered driver.
What to Complete on the Plane
The time between your last connection and landing is more useful than most travelers realize. Cabin crew on international flights typically distribute customs declaration or arrival cards during the descent. Fill these out completely and accurately - including your destination address in the country - before you land. Doing this on the plane means you arrive ready to queue, not scrambling for a pen at a crowded kiosk.
Also use this time to locate your visa documentation. Whether that's a physical sticker in your passport, a printed e-visa approval, or a visa-on-arrival confirmation email, know exactly where it is. Immigration officers move quickly, and fumbling for paperwork slows everyone down.
On the Plane
Immigration & Customs
Connectivity & Currency
Ground Transportation
Safety & Situational Awareness
Navigating Immigration and Customs
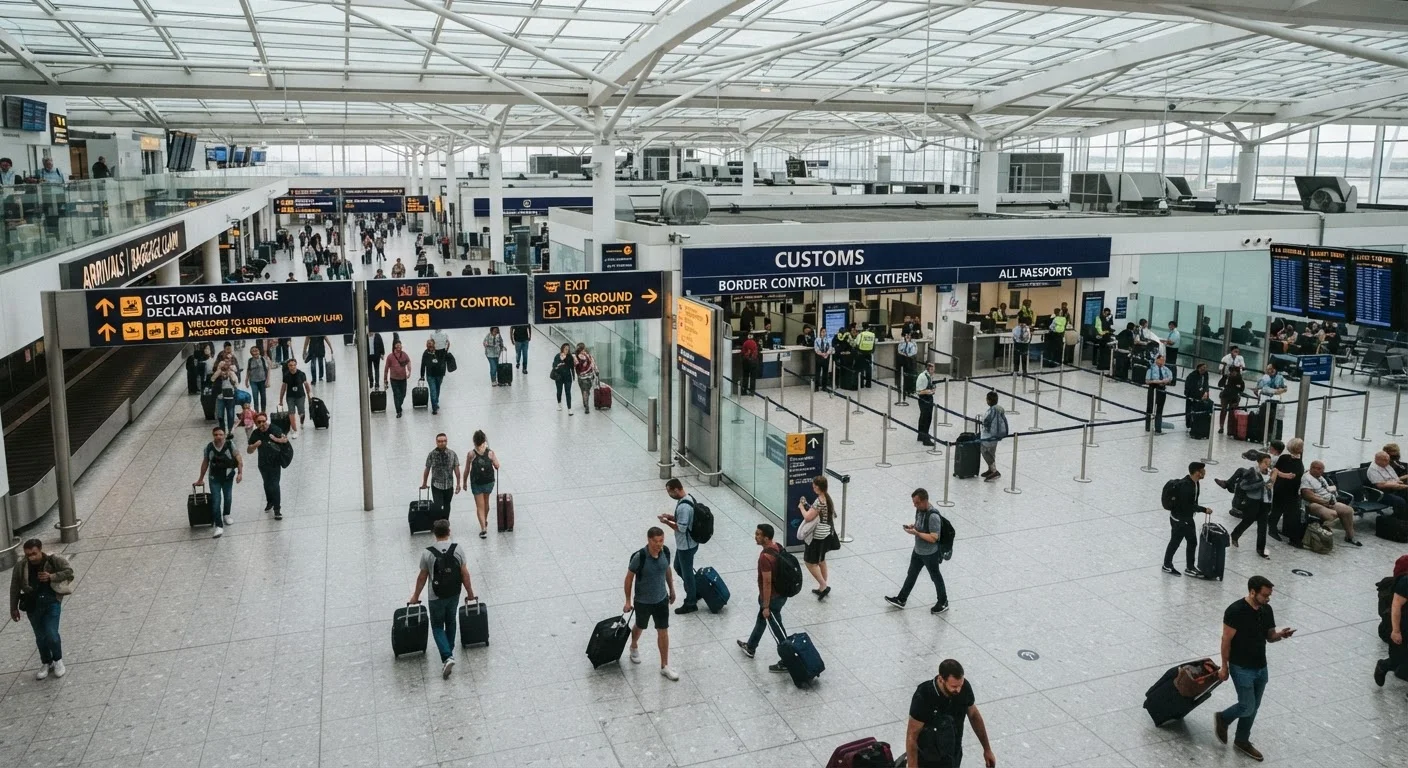
Once you deplane, follow the signs for Immigration or Passport Control - not Customs, which comes after. Line up in the correct queue for non-citizens or visitors; using the wrong lane is a common mistake that results in being turned away. When you reach the officer, answer questions directly: your purpose of visit, where you're staying, and how long you plan to be in the country.
Verify Your Entry Stamp Before You Walk Away
After passing through immigration, check that your passport has been stamped with the correct entry date and permitted duration of stay. Errors at this stage are much easier to resolve at the immigration booth than weeks later. An incorrect or missing stamp can create serious complications when you attempt to depart the country.
After immigration, collect your checked baggage before proceeding to customs. Customs is where you declare any goods above duty-free thresholds or restricted items. Most countries operate a dual-channel system: a green channel for travelers with nothing to declare, and a red channel for those who do. Using the wrong channel when you do have goods to declare carries real penalties - see the warning above.
Connectivity, Currency, and Getting to Your Accommodation
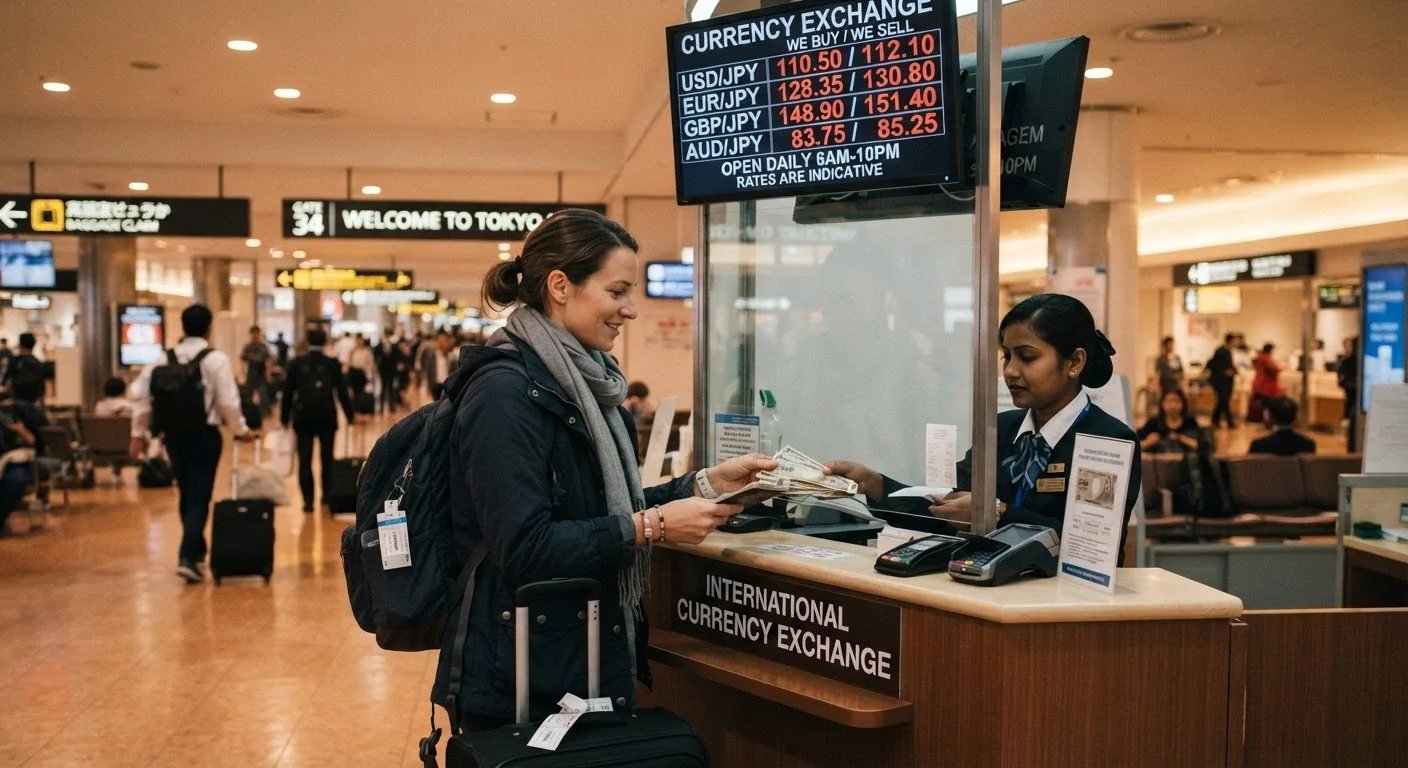
The moment you clear customs, two practical needs surface immediately: connectivity and cash. For connectivity, your options are activating an international plan with your U.S. carrier, inserting a local SIM purchased at an airport kiosk, or using an eSIM you've loaded in advance. Each has trade-offs in cost and setup time. For currency, a modest ATM withdrawal from a bank-branded machine in the arrivals hall is generally more cost-effective than currency exchange kiosks. For a detailed breakdown of your options and what fees to expect, see our guide to currency exchange at airports, banks, and ATMs abroad.
Ground transportation deserves equal planning. Know before you land whether you're taking a pre-booked transfer, an airport rail link, or a taxi from an official rank. Decisions made under pressure in an unfamiliar arrivals hall tend to be expensive ones. Download offline maps for your route to your accommodation so navigation doesn't depend on a live data signal. Review the available tools below, and make sure you have what you need before you step outside the terminal.
Offline Maps App (e.g., Maps.me or Google Maps offline)
Navigate to your accommodation without relying on live data in the first hour after landing.
Local currency (pre-obtained or ATM withdrawal)
Cover immediate costs like taxis, tips, or transit fares before you reach your accommodation.
International SIM card or eSIM
Maintain data connectivity for ride-hailing apps, maps, and messaging from the moment you clear customs.
Physical or digital copies of entry documents
Present visas, hotel bookings, return flight tickets, or onward travel proof if requested by immigration officers.
Money belt or anti-theft travel wallet
Secure your passport and cash discreetly in busy arrivals halls and transit areas.